
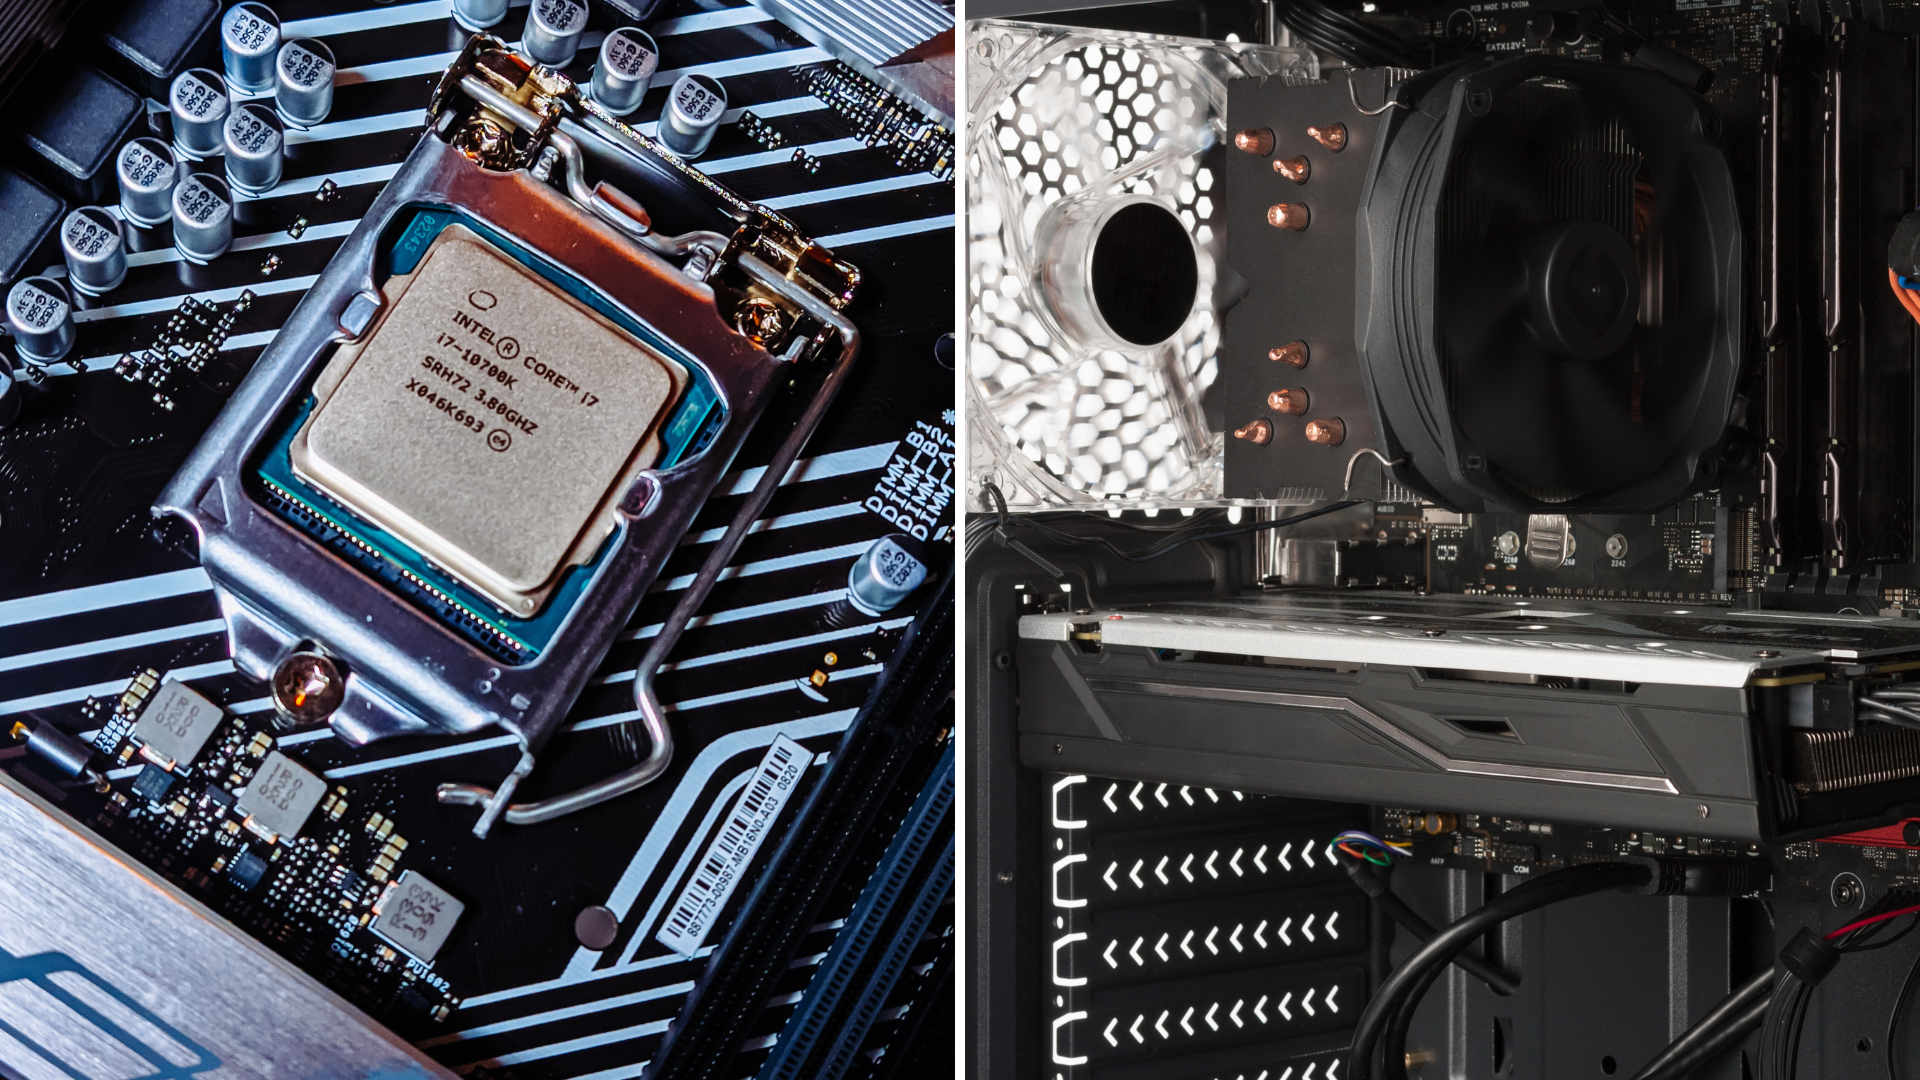
 A faster graphics card can raise CPU temperatures by warming the case, increasing the processor’s workload, or changing the airflow around its cooler.
You install a better graphics card, launch the same game, and discover that the CPU is running hotter. The processor and its cooler have not changed, so it is tempting to blame disturbed thermal paste or a faulty sensor. Both are possible, but they are not the first explanations to test.
A graphics card upgrade changes the operating conditions of the whole computer. The GPU may release more heat inside the enclosure, the CPU may prepare more frames each second, and the new card may obstruct an airflow path that the old one left open. Sometimes all three happen together.
The best way to find the cause is to compare the old and new operating conditions, then change one variable at a time. Do that before buying from our CPU cooler recommendations, because a new CPU cooler does not necessarily address the source of the extra heat.
Three reasons the CPU can get hotter
The graphics card is heating the air the CPU cooler uses
Most open-air graphics cards discharge much of their heat into the case. A tower CPU cooler uses that case air, and a top-mounted exhaust radiator does too. If the incoming air gets warmer, the cooler has less favorable conditions even when the CPU itself consumes the same power.
Imagine replacing a card that draws roughly 150 watts during a game with one drawing about 280 watts. That hypothetical extra 130 watts must leave the enclosure. The precise temperature change depends on the case, fans, GPU cooler, and room, but it is not reasonable to expect the CPU cooler’s environment to remain unchanged.
The CPU is doing more work
A GPU that previously delivered 80 FPS may have limited how quickly the processor needed to prepare frames. If the new card enables 160 FPS, the game can demand substantially more CPU work per second. The CPU’s power and temperature can rise even if the new GPU is no hotter than the old one.
The relationship is not perfectly proportional. Game engines divide work differently, and background tasks, frame limits, and scene complexity matter. Still, comparing temperature without comparing FPS and CPU power leaves out a major part of the explanation.
The physical installation changed airflow
A larger card can divide the case into more distinct upper and lower spaces. It may sit closer to the intake fans, block access to a lower air path, or require cables to cross an opening. A front radiator can make the remaining gap even tighter.
During installation, a fan cable may also have been disconnected or pushed against a blade. A support bracket can interfere with a bottom fan. These are ordinary installation issues, so inspect them before assuming the processor needs fresh thermal paste.
Establish a fair comparison
Use the same game, scene, resolution, graphics settings, and frame limit. Record room temperature near the case intake, without placing the thermometer directly in a hot exhaust stream. Let the game run until temperatures and fan speeds become reasonably stable.
Record CPU temperature, CPU package power, GPU board power, FPS, and fan RPM. Also note whether the case panel is installed and whether any fan profile changed during the upgrade. Our temperature monitoring guide can help you choose one consistent logging utility.
Do not compare the old card’s lightly loaded menu with the new card’s demanding match. Likewise, shader compilation after a driver or game update can temporarily increase CPU work. Wait for that process to finish before treating the result as normal gameplay.
Test one: restore the old frame-rate limit
If you know the frame rate you used before the upgrade, cap the game near that target. Use a repeatable scene and allow temperatures to settle. Watch whether CPU power decreases along with the CPU temperature.
If both fall substantially, extra frame-production work explains at least part of the increase. That does not make the upgrade a mistake. It means the CPU is participating more fully in the improved performance.
The cap also reduces GPU work in many situations, so this test alone cannot separate processor workload from case heating. Read the CPU and GPU power logs together. If both drop, you have changed two heat sources. Follow with the airflow test rather than declaring one cause proven.
Choose a practical final frame limit based on your monitor, game, and latency preference. There is no benefit in running an uncapped menu at hundreds of frames per second if all it adds is noise and heat.
Test two: compare a CPU-only workload
Run a familiar, moderate CPU workload with the GPU mostly idle. Compare with any previous result obtained under the same CPU settings. If the CPU cooler behaves normally here but becomes much hotter during gaming, case heat or combined-system airflow becomes a stronger suspect.
If CPU-only temperatures are also unexpectedly worse, inspect the cooler and fan connections, room temperature, and firmware settings. A coincidental BIOS reset or changed power profile can alter processor power independently of the graphics card.
You do not need to run the most aggressive torture test available. A workload that already produces rapid overheating or shutdowns provides enough reason to stop and inspect. A diagnostic comparison should reduce uncertainty, not repeatedly trigger protection.
Test three: check whether the enclosure is the restriction
With the computer powered off, inspect filters, intake openings, fan cables, and the clearance around the new card. Clean a blocked filter and correct an obvious obstruction before testing again.
A brief comparison with the side panel removed can be useful if you can keep fingers, pets, and loose objects away from the running system. A meaningful improvement under the same workload suggests the enclosed airflow path deserves attention. It does not identify the exact fan or panel responsible.
Return the panel afterward. Running permanently open changes dust exposure, noise, and airflow around other components. The objective is a functional closed case, not a benchmark achieved by abandoning the enclosure.
| Test result | What it suggests | Useful response |
|---|---|---|
| Old FPS cap lowers CPU power | More frames added CPU work | Choose a sensible frame limit |
| CPU-only behavior remains normal | Combined heat or airflow matters | Inspect case ventilation |
| Panel removal helps repeatedly | Enclosure airflow is restrictive | Improve intake and exhaust paths |
| High temperature at low CPU power | Possible cooling fault | Check mount, fan, or pump |
Make case fans respond to the component producing heat
Some systems control every case fan from CPU temperature. That can work poorly when a GPU-heavy game heats the enclosure while the processor remains relatively cool. Case airflow stays low until warmer air eventually raises CPU temperature.
If your controller supports it, consider a case-fan strategy that responds to both CPU and GPU demand. Our fan-control software guide covers tools with multiple sensor inputs. Avoid applying the same temperature scale blindly to different sensors; create appropriate component curves and combine their requested fan speeds.
For example, Fan Control’s documentation describes a Mix curve that can select the maximum request from separate curves. That makes it possible for either component to call for airflow. Verify startup behavior and a safe fallback before relying on software control.
Radiator placement can change which component benefits
A top exhaust radiator often receives air warmed by the graphics card. A front intake radiator receives cooler outside air but adds CPU heat to the air entering the case. Moving the radiator may improve CPU temperature while worsening GPU temperature or GPU fan noise.
Judge the whole system under your actual game workload. Our guide to top versus front AIO mounting explains the tradeoffs and the physical checks needed before moving anything.
Do not overlook room placement. A computer pushed into a desk compartment or against a wall can recycle warm exhaust. Restoring intake and exhaust space may help more than adding another fan inside an already crowded case.
When a cooler upgrade is justified
A better CPU cooler is appropriate when the processor’s new sustained workload exposes a real thermal or acoustic limit after airflow problems have been addressed. It is less compelling when the CPU remains within its intended operating behavior and the only change is a higher but stable reading.
Use our cooler-upgrade performance guide to distinguish restored performance from a noise improvement. Both can be worthwhile, but they are different reasons to spend money.
Also verify that the GPU upgrade’s power requirements were addressed. Our guide to checking whether your PSU can handle a GPU covers that separate issue. A more powerful PSU will not directly cool the processor, and extra case fans will not correct inadequate electrical support.
Frequently Asked Questions
Can a more efficient GPU still make the CPU hotter?
Yes. Efficiency describes work accomplished per unit of power, not necessarily lower total power. The new card may also enable more frames and therefore more CPU work. Compare actual board power and frame rate rather than efficiency claims alone.
Should I replace thermal paste after every GPU upgrade?
No. Changing the graphics card does not automatically disturb the CPU cooler. Repaste if the cooler was removed or evidence points to a contact problem. Unnecessary remounting introduces another variable and another opportunity for an installation mistake.
Is warmer exhaust a bad sign?
Not by itself. Warm exhaust means heat is leaving the case. Component temperatures, stable performance, fan noise, and the change from your baseline tell you more than how the exhaust feels.
What should I fix first?
Correct disconnected fans and blocked intakes first. Then compare matched workloads and frame limits. Adjust case airflow before replacing a healthy CPU cooler, and stop testing if the system shows severe overheating or repeated shutdowns.
