
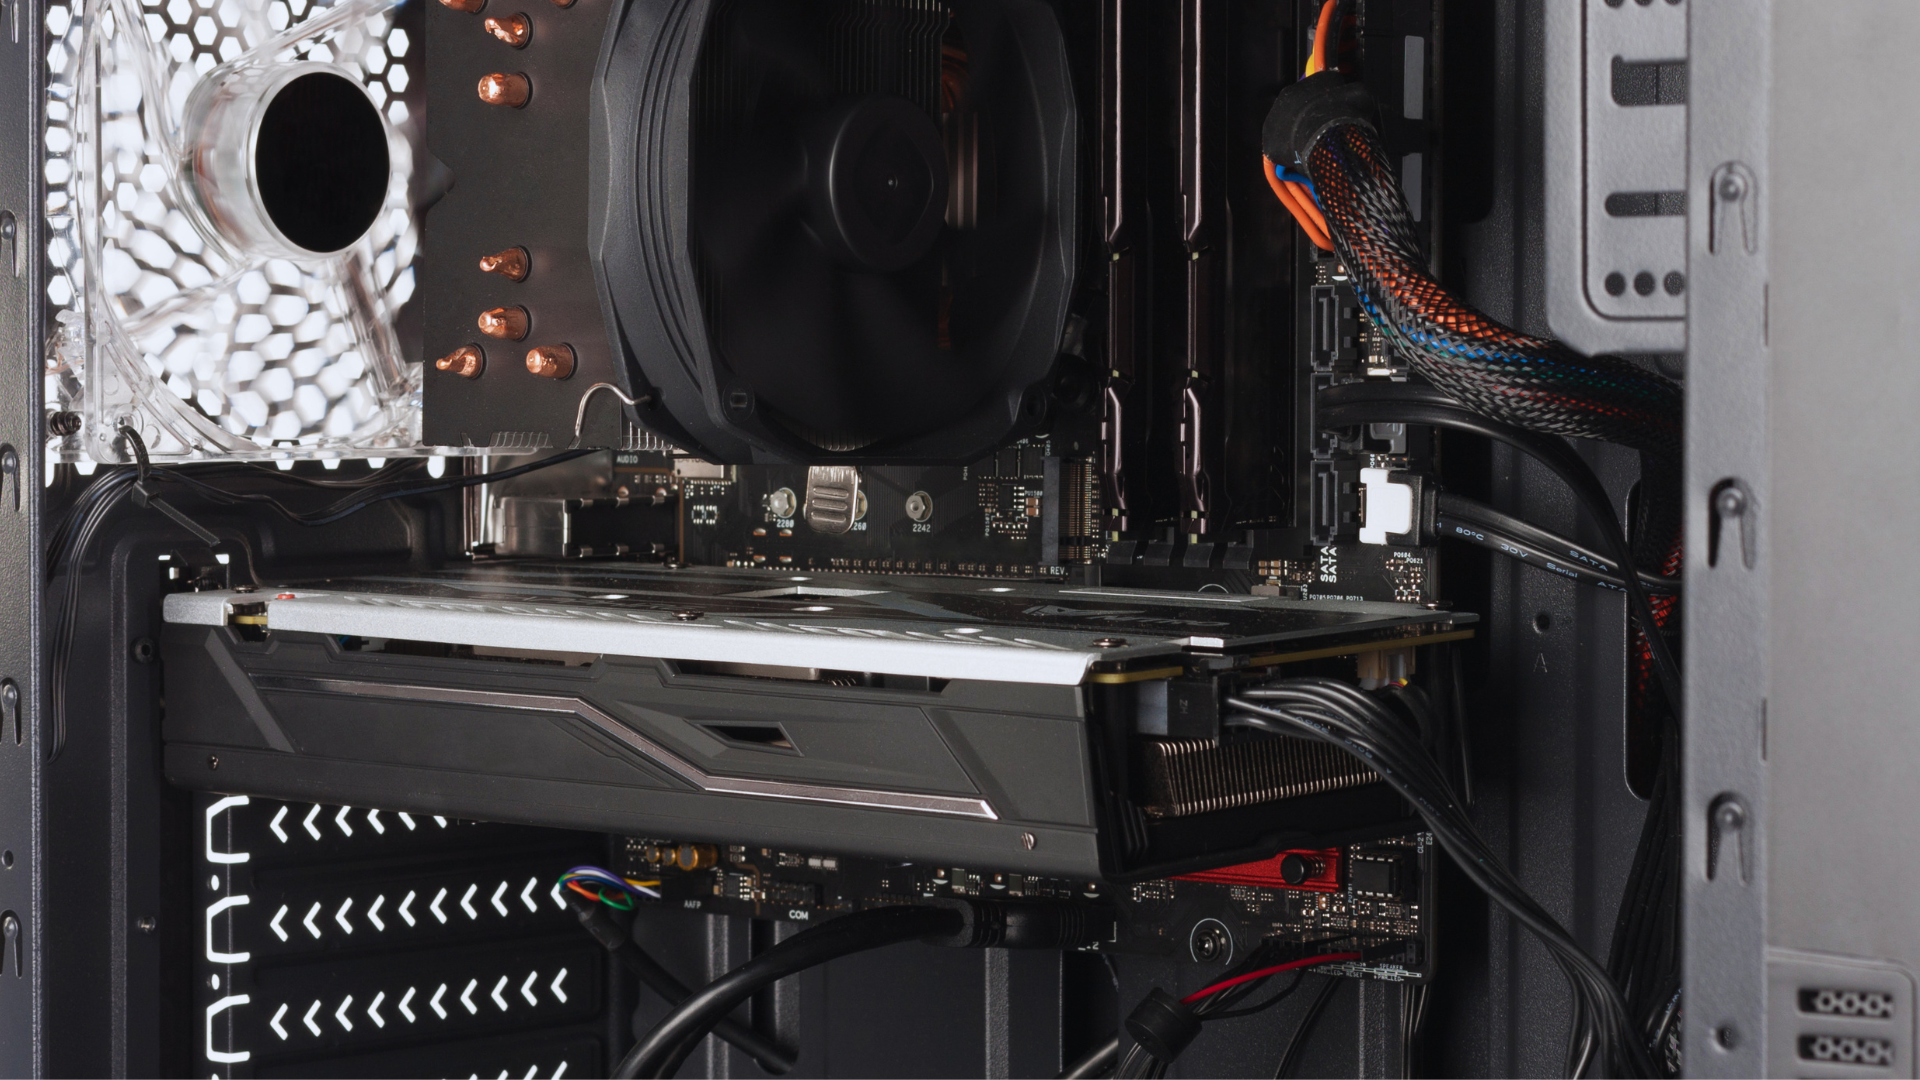
To know whether a graphics card fits your case, you need to compare the exact card’s length, height, and thickness with the space available in the case’s final configuration. Then check the installation path, rear expansion slots, power-connector clearance, and breathing room around the fans.
The maximum GPU length on a case spec sheet is only a first-pass check. It may assume there is no front radiator, reservoir, or drive cage in the card’s path, and it tells you nothing about a tall card pressing its power cable into the side panel. Two versions of the same GPU can also use completely different coolers. An RTX or Radeon model name is not a set of dimensions.
If you are shopping from our list of the best graphics cards, use this guide on the specific board-partner model in your cart—not just the GPU listed in its name.
The five checks that determine whether a graphics card fits
A graphics card is a good fit only when it passes all five of these checks:
- Length: The card clears front fans, radiators, drive cages, reservoirs, and other hardware.
- Height: The top edge of the card and its power cable clear the closed side panel.
- Thickness: The cooler fits the available rear slots and does not hit a PSU shroud, bottom fans, or another expansion card.
- Installation: The card can pass through the case opening and reach the motherboard slot without being trapped by the case frame.
- Operation: Its fans can draw air, its power connector can be routed safely, and any required support bracket fits.
Passing the first three means the card fits on paper. Passing all five means you can actually install and use it.
1. Start with the exact graphics card—not the GPU name
NVIDIA, AMD, and Intel design GPUs. Their partners build many of the cards that use those GPUs, each with its own PCB, cooler, shroud, factory settings, and power-connector layout. A compact dual-fan card and an oversized triple-fan card can contain the same GPU while being separated by several inches of length and more than a full expansion slot of thickness.
Find the complete product name and model number on the card manufacturer’s website. Suffixes such as OC, Gaming, Master, Suprim, or Founders Edition matter. Retailers sometimes combine reviews, photos, or specifications for several variants, so the manufacturer’s product page and manual should be your primary references. If you are still deciding between GPU models, start with our guide on how to choose a graphics card, then run this fit check on the exact version you intend to buy.
Record the following:
- Overall length in millimeters
- Overall card height in millimeters
- Physical thickness in millimeters
- Advertised slot count, such as 2.5-slot or 3.5-slot
- Power-connector type and whether it faces the side or the end of the card
- Any required anti-sag bracket or support stand
- Whether a full-height or low-profile rear bracket is required
Watch the terminology. Manufacturers do not always list dimensions in the same order, and the dimension that extends toward the side panel may be called either height or width. Use the product’s dimensional drawing to identify each axis. Do not assume that two spec sheets use length × width × height in the same way.
2. Find the case’s real GPU limits
Look up the exact case model and revision. A base model, an Airflow version, and a later V2 may look similar while using different internal layouts. The product page gives you a headline GPU limit; the manual usually provides the more useful information—configuration diagrams, footnotes, removable parts, radiator restrictions, and vertical-mount limits.
The important question is not “What is the largest GPU this case supports?” It is “What GPU space remains after I install my fans, radiator, storage, motherboard, power supply, and cables?” Case specifications often describe several possible configurations, not a single configuration that supports every published maximum at the same time.
Compatibility tools are useful filters, but they cannot reliably account for every radiator end tank, cable bend, local obstruction, or product revision. Our broader guide to choosing compatible PC parts explains why the final manual-and-measurement check still matters.
3. Measure the case in three dimensions
If you already own the case, measuring the assembled system is more reliable than working from its advertised maximum. Shut the PC down, switch the power supply off, unplug it, and remove the side panel. Use a rigid ruler or tape measure marked in millimeters. Measure at the position the card will occupy, not through an empty part of the case.
Measure usable GPU length
Measure from the inside face of the rear expansion-slot area toward the front of the case, stopping at the nearest object in the card’s path. Make this measurement at the same height as the motherboard’s primary PCIe slot and across the full thickness of the proposed card.
That last part catches an easy-to-miss problem: an obstruction may affect only the bottom portion of a thick GPU. A drive cage or PSU-shroud lip can clear a two-slot card yet collide with the lower edge of a four-slot cooler.
Check for:
- Front intake fans and their frames
- A front or side radiator, including end tanks and fittings
- Hard-drive cages or optional drive brackets
- A pump, reservoir, or fan controller
- Case braces, cable covers, and motherboard-tray extensions
- Front-panel cables or a thick cable bundle
Do not plan around a zero-millimeter gap. A card with the same published length as your measured space may not be able to enter at the required angle, and screw heads, cable ties, tolerances, or a slightly different measuring datum can consume the last few millimeters. With a straightforward installation path, 10–20mm of spare length is a sensible practical target. Compact or unusually framed cases may need more.
Measure card height and side-panel clearance
For a conventionally mounted card, the relevant height runs from the PCIe connector/bracket area toward the side panel. Modern partner cards often extend well above the standard rear bracket. Measure to the inside surface of the closed panel, accounting for any sound-deadening material, panel lip, or side-mounted fan bracket.
Now add the power connector. If it plugs into the side of the card, the usable requirement is not merely the card’s height:
Required side clearance = installed card height + connector and cable-routing clearance
There is no single safe cable allowance for every connector and cable. Use the instructions supplied with the graphics card, power supply, or approved cable. The plug must be fully inserted and latched, and the cable must begin its bend only after the straight run specified by its manufacturer. If the side panel presses on the plug or pushes the cable sideways, the card does not have acceptable clearance.
If the power connector faces the front of the case, include the plug and cable route in the length calculation instead. Recessed or angled connectors can help, but only the exact card drawing will tell you how much.
Measure thickness and count usable slots
GPU “slot count” is a useful shorthand, not a precise physical measurement. A 2.7-slot cooler is obviously thicker than two slots, while a card sold as three-slot may have a shroud, backplate, screw, or fan bulge that reaches slightly beyond the nominal boundary. Compare the thickness in millimeters whenever the manufacturer provides it.
Start at the rear slot aligned with the motherboard’s primary x16-length slot and count downward. Then inspect the actual volume behind those openings. Look for:
- Capture cards, sound cards, network adapters, or other add-in cards
- Bottom-mounted fans and their screws or guards
- The top of the PSU shroud or power supply
- Front-panel, USB, fan, and audio headers along the motherboard’s lower edge
- Side-facing SATA ports and cables
- A vertical-GPU bracket installed in front of the normal expansion slots
A micro-ATX case does not automatically rule out a thick graphics card. What matters is the position of the motherboard’s primary PCIe slot and the room below it. If that slot begins in the board’s second expansion position, you lose space compared with a board whose main slot starts in the first position.
Check the installation path
Internal clearance is irrelevant if the card cannot get into the case. The side opening may be smaller than the chamber behind it, and a front rail, tower cooler, radiator tube, or PSU shroud can prevent you from rotating a long card into position.
Study the case manual’s assembly order, especially in a small-form-factor build. Some cases require you to remove a frame, radiator bracket, power supply, or top panel before the GPU can be installed. If you already have the case, make a simple cardboard mock-up of the card’s rectangular envelope and practice the path. It will not reproduce the rear bracket or connector perfectly, but it quickly exposes an impossible angle.
4. Recalculate clearance for fans, radiators, and drive cages
A front-mounted radiator is the classic source of a bad fit. Its installed thickness is the radiator plus the fans, but the true obstruction can also include a case bracket, vibration pad, screw head, end tank, or fitting. A nominal “360mm radiator” describes the fan format, not the radiator’s outside dimensions or thickness.
If the case’s published GPU limit is measured to the same plane occupied by the radiator assembly, the rough calculation is:
Remaining GPU length = published GPU limit − installed radiator/fan intrusion
Suppose a case lists 360mm of GPU clearance and your front assembly projects 55mm into that same space. The rough remaining length is 305mm. A 320mm card fails even though it is shorter than the number printed on the case box.
Use that arithmetic only as a screening tool. A radiator may overlap the front of a short card without overlapping the thicker part of its cooler, or an end tank may create a local conflict that the simple subtraction misses. The case’s configuration drawing is better evidence than the equation, and a measurement of the assembled case is better still.
Apply the same logic to removable drive cages. If the case advertises one limit with the cage installed and another with it removed, verify that you have somewhere else to mount any drives you still need. Do not assume a riveted or structural part is removable simply because a similar case uses screws.
5. Make room for the power connector and cable
A GPU can fit perfectly until you try to connect power. Conventional 6-pin and 8-pin PCIe connectors, modern 16-pin connectors, adapters, and native PSU cables all have different plug bodies and routing requirements. The card’s connector may also sit on its side, at its front edge, or recessed into the shroud.
Use only the cable or adapter approved for the exact power supply and graphics card. Seat the plug straight and fully, confirm that its latch is engaged, and inspect for a gap before closing the case. Do not make the side panel serve as a clamp, and do not force a tight bend immediately behind the plug.
Physical cable clearance is only half of this check. Confirm PSU wattage, quality, 12V capacity, connector type, and cable count with our guide to checking whether your power supply can handle a GPU. If the PSU is modular, never reuse a cable merely because it fits the socket; modular pinouts can differ between brands and even between product lines from the same brand.
6. Confirm the motherboard slot and rear-slot layout
Most modern desktop graphics cards use a PCIe x16 connector and should go into the motherboard slot recommended in its manual—usually the uppermost full-length slot connected to the CPU. A physically x16 lower slot may have fewer electrical lanes, share bandwidth, or place the cooler too close to the PSU shroud.
PCIe generations are designed to interoperate, so a newer graphics card will generally work in an older-generation desktop slot at the best mutually supported link. Lane count, platform configuration, and the card itself determine whether performance is affected. For the practical difference on current systems, see our comparison of PCIe 4.0 versus PCIe 5.0 for graphics cards.
Also verify that you can reach the rear display outputs after installation. Some compact cases recess the bracket behind a frame or use pass-through cables; unusually bulky HDMI or DisplayPort plugs may not fit that opening.
Special cases: small-form-factor, low-profile, vertical, and OEM systems
Small-form-factor and low-profile cases
Mini-ITX and slim cases stack several limits on top of one another. Length may be generous while height is tightly restricted. A card may fit only with an SFX power supply, a particular fan arrangement, or a specific order of assembly. Check riser routing, power-cable location, radiator tubes, and the gap between the GPU fans and the nearest panel.
Short and low-profile are not synonyms. A short card can still use a full-height rear bracket; a true low-profile card is shorter in the bracket-to-top-edge dimension and normally includes or requires the correct low-profile I/O bracket. If you are working with a slim chassis, compare our mini and low-profile graphics card options.
Vertical GPU mounts
A case’s standard horizontal limit does not automatically apply to its vertical mount. Confirm the vertical bracket’s maximum card thickness, the distance from the cooler to the side panel, and space for the riser cable. A triple-slot card placed a few millimeters from solid glass may be mechanically secure and thermally miserable.
The riser must also support a stable PCIe link for the motherboard and GPU combination. Some older risers require you to set a lower PCIe generation in the BIOS before relocating the card. Finally, check the recessed display-output area; right-angle or thick display-cable plugs can be awkward in some mounts.
Prebuilt and proprietary cases
OEM desktops can add nonstandard power supplies, card-retention latches, internal braces, narrow side panels, and proprietary motherboard layouts. Measure the chassis rather than assuming its advertised tower size follows DIY-case conventions. Confirm that the power supply has both the capacity and the correct GPU power leads—an adapter cannot create electrical capacity the system does not have.
A card that fits still needs room to breathe
“The side panel closes” is not a thermal standard. An open-air GPU cooler draws air through its fans and exhausts much of the heat back into the case. If those fans sit directly against a solid PSU shroud, glass panel, or cable bundle, the card may run hotter and louder even though no parts touch.
There is no universal minimum gap because fan design, vent shape, card power, and system airflow all matter. Follow any clearance recommendation from the GPU or case manufacturer. As a practical check, favor a visible intake path to the GPU and an exhaust path for the heat it produces. If an existing PC runs hot after an upgrade, our guide to improving airflow in a gaming PC covers the useful diagnostic steps.
Large cards may also need an anti-sag support. Make sure the supplied brace or support post does not land on a bottom fan, cable, or case opening. The support should hold the far end level without lifting the card out of alignment or touching a fan blade.
The safest pre-purchase workflow
- Copy the exact model numbers. Include the GPU variant, case revision, motherboard, PSU, and any radiator.
- Download the official manuals. Record dimensional drawings, configuration limits, connector guidance, and assembly order.
- Draw the final layout. Place every fan, radiator, drive cage, reservoir, add-in card, and support bracket.
- Measure or calculate all three axes. Use millimeters and include the connector and cable path.
- Check the entry route. Make sure the card can pass through the opening and rotate into the primary slot.
- Verify power and airflow. A physically installable card can still be unusable if the cable is unsafe or the fans are smothered.
- Use completed builds as a cross-check. Photos of the same case and card can expose a missed conflict, but verify that the revisions and cooling layout match yours.
If the checks pass, follow our step-by-step graphics card installation guide when the card arrives. Keep the retailer’s return policy in mind until you have test-fitted the card with its power cable and side panel in place.
Final graphics card fit checklist
- The dimensions come from the exact card model or SKU.
- The case model, revision, and manual match the chassis you own or plan to buy.
- Usable length was checked with front fans, radiators, cages, and reservoirs in place.
- Card height plus the required power-cable route clears the closed side panel.
- Physical thickness and advertised slot count both fit the motherboard and case layout.
- The card can pass through the case opening and reach the primary PCIe slot.
- The rear bracket and display outputs remain accessible.
- The PSU has the required capacity and approved cables.
- The GPU fans have a clear intake path.
- The anti-sag bracket or vertical-mount hardware also fits.
Frequently asked questions
How much extra GPU clearance should I leave?
For length, 10–20mm is a useful target when the card has a straight path into a conventional mid-tower. More may be necessary when you must angle the card into a compact case. For power-cable clearance, do not use a generic number; follow the cable or card manufacturer’s required straight run and bend guidance.
Can a graphics card be too tall for a case?
Yes. A tall card can hit the side panel, and a card that barely clears can still leave too little room for a side-facing power connector. This is one reason comparing only the card’s length with the case’s maximum GPU length produces bad recommendations.
Does a three-slot GPU need exactly three case slots?
It needs the appropriate rear openings, but you must also check its measured thickness. Cards described as 2.7-slot, 3-slot, or 3.5-slot can extend beyond those nominal boundaries. The cooler must clear everything below the primary PCIe slot, not merely line up with enough removable covers.
Will any GPU fit an ATX case?
No. ATX describes motherboard support, not a guaranteed GPU volume. An ATX case can still be too short, too narrow, or too restricted around the lower expansion slots for a particular card.
Can I remove a drive cage to make a GPU fit?
Yes, when the case manual identifies it as removable and you have another place for any drives you need. Follow the documented procedure. Do not drill out or cut a structural or riveted cage merely to force an expensive card into the chassis.
Can PCPartPicker tell me whether a GPU fits?
It is a good first filter, but it cannot validate every configuration-dependent obstruction, cable bend, installation angle, or product revision. Treat an automated compatibility result as permission to continue checking—not as a substitute for the case and card manuals.
Does removing the side panel solve a GPU clearance problem?
It may prove that the card or power cable lacks side clearance, but it is not a good permanent solution. An open case changes airflow and exposes components to dust, pets, spills, and accidental contact. Choose a card, cable arrangement, or case that works with the panel installed normally.
What should I do if the card does not fit?
Your clean options are a shorter or slimmer version of the GPU, a different cooling layout, or a larger case. Compare our guides to choosing a compatible PC case and PC case sizes; if replacement is the best route, our current PC case recommendations provide a practical shortlist. Moving a radiator or removable cage can work, but only after you recalculate the new layout in all three dimensions.
Bottom line
A graphics card fits when the exact card clears the fully assembled case in three dimensions, can travel through the installation opening, leaves a safe route for its power cable, and has room for its fans and support hardware. Check the card’s dimensional drawing, read the case manual’s configuration notes, and measure the layout you will actually use. If you do those three things—and leave a modest installation margin—you will catch nearly every GPU fit problem before money changes hands.
