
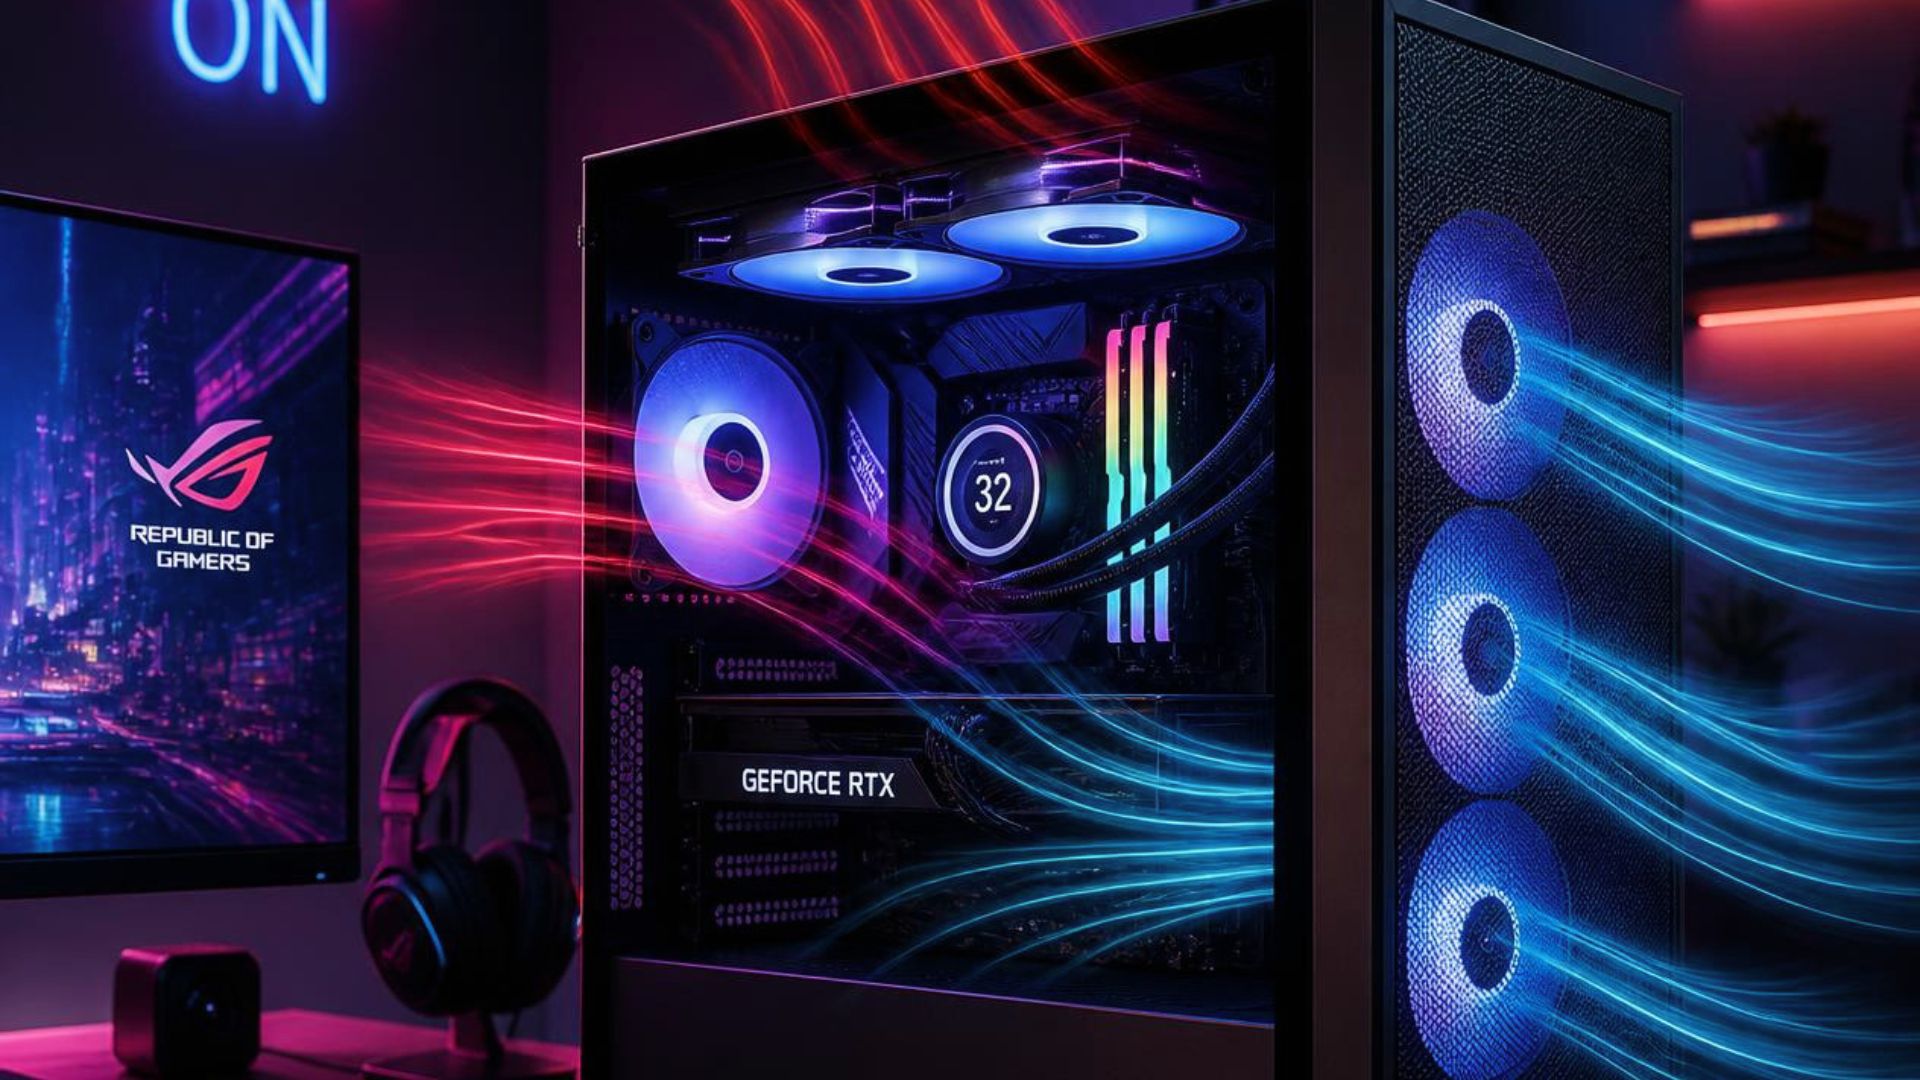
You can improve airflow in a prebuilt gaming PC by cleaning its intake path, confirming fan direction, removing cable obstructions, tuning fan curves, and adding intake or exhaust fans where the case supports them. The best change is not always the one that adds the most fans; it is the one that creates a clear path for cool air to reach the CPU and graphics card before hot air leaves the case.
Measure temperatures before changing anything. Otherwise, you will not know whether the modification worked or merely made the PC louder. A prebuilt that looks warm may already operate within normal limits, while a system with clean exterior panels can hide a clogged filter or stopped fan.
Measure Temperatures Before You Modify the PC
Choose one repeatable workload: the same game, map, resolution, graphics settings, and test duration. Record room temperature, CPU temperature, GPU temperature, fan speed, clock behavior, and noise if you have a way to measure it.
Run the test for at least 15–20 minutes so the case reaches a steady temperature. Short tests can make weak airflow look better because the metal, cooler, and internal air have not fully warmed.
| Test Item | Before Change | After Change |
|---|---|---|
| Room temperature | Record at desk height | Keep within a few degrees of the first test |
| Game and settings | Use a repeatable scene or benchmark | Use the identical scene and settings |
| CPU/GPU temperature | Record peak and sustained values | Compare sustained values, not one-second spikes |
| Clock speed | Watch for thermal or power-limit reductions | Confirm performance is equal or better |
| Fan noise | Note speed and sound character | Cooling is not improved if noise becomes unacceptable |
This before-and-after method separates a real improvement from normal run-to-run variation. If you are also changing Windows or game settings, follow our broader guide to optimizing a PC for gaming.
Map the Intake and Exhaust Path
Most tower PCs work best with front or bottom fans bringing cool air in and rear or top fans pushing hot air out. Every fan has an intake side and an exhaust side. Air usually exits through the side with the support struts and motor sticker, although arrows molded into the frame are the best confirmation.
Hold a thin strip of tissue near a vent without letting it touch the fan. The movement will show whether air enters or leaves the case. Check each fan rather than assuming all front fans are installed in the same direction.
Look for opposing fans that fight each other, an exhaust-only configuration with no useful intake, or intake fans pressed against a solid panel. A balanced path matters more than decorative fan placement.
Clean Filters, Fans, and Obstructions
Power the PC down, switch off and unplug the PSU, and move the system to a ventilated work area. Remove accessible dust filters and clean them according to the case manufacturer’s instructions. Use compressed air or an electric duster on heatsinks and vents while holding fan blades still so they do not overspin.
Pay special attention to the graphics-card heatsink, CPU cooler, front intake, and PSU filter. A thin layer of dust is normal; a felt-like mat across a filter can cut airflow substantially.
Keep the tower off thick carpet and leave several inches around its vents. A wall, desk cabinet, or stack of papers close to the rear exhaust can cause the system to recirculate its own hot air.
Improve Cable Routing
Modern cables rarely block enough air to explain severe overheating by themselves, but a bundle directly in front of an intake fan can create turbulence and reduce the air reaching the GPU.
Route excess cable length behind the motherboard tray or along the case edge. Use reusable hook-and-loop ties rather than tightening plastic ties so aggressively that they strain connectors. Keep cables away from fan blades and avoid sharply bending a modern high-power GPU connector near its plug.
Do not sacrifice serviceability for a perfectly empty-looking case. A neat, safe route is the goal; hiding every wire is not.
Test With the Side Panel Removed
Removing the side panel is a useful diagnostic test, not usually a permanent fix. Repeat the same game workload with the panel off.
If CPU and GPU temperatures fall significantly, the case is probably restricting intake or exhaust. If temperatures barely change, the limitation may be the component cooler, thermal paste, fan curve, or room temperature rather than the case airflow.
Running permanently with the panel removed exposes the system to more dust, pet hair, accidental contact, and inconsistent air movement. Fix the underlying path whenever practical.
Adjust the Fan Curves
A prebuilt may prioritize quiet operation and allow temperatures to climb before increasing fan speed. Check the BIOS, manufacturer utility, or supported fan-control software for adjustable curves.
Raise speeds gradually rather than setting every fan to 100%. A good curve keeps the PC quiet at idle, increases airflow during sustained gaming, and avoids rapid speed changes caused by brief temperature spikes.
Confirm which sensor controls each fan. Case fans tied only to CPU temperature may react poorly to a GPU-heavy game. If the software supports multiple sources, using the warmer of CPU and GPU temperatures can produce a more useful response.
Add or Replace Case Fans
Check the case manual and motherboard headers before ordering. Measure the fan mount—commonly 120mm or 140mm—and verify that the motherboard offers a compatible three-pin or four-pin header. A powered hub can support several fans, but the control signal and total current still need to be appropriate.
If the PC has one rear exhaust and an empty ventilated front, adding one or two front intakes is often the most effective change. If it already has strong front intake but no exhaust, a rear fan can help remove the heat collecting around the CPU socket.
More fans eventually produce diminishing returns. Three well-positioned fans can outperform six fans installed without a coherent direction. Larger fans often move similar air at lower speed, but only if the case supports them without blocking the intake.
Upgrade the CPU Cooler When Airflow Is Not the Problem
If the GPU temperature is reasonable but the CPU runs hot, the stock CPU cooler may be the limitation. Confirm that its fan spins, the mounting pressure is even, and the heatsink is clean.
A compatible tower air cooler can reduce temperature and noise, but measure height from the CPU to the side panel and check RAM clearance. Proprietary mounting holes or fan connections can complicate the change; see our guide on how to identify proprietary prebuilt parts first.
Replacing thermal paste may help an older or poorly mounted cooler. It is not a substitute for adequate heatsink capacity and case ventilation.
When a Case Swap Makes Sense
A case swap is the last resort when the original chassis has sealed panels, few fan mounts, and no reasonable intake path. It can work well when the motherboard, PSU, cooler, and front-panel connections follow common standards.
Before buying one of the best PC cases, verify motherboard form factor, PSU size, GPU dimensions, cooler height, front-panel headers, Wi-Fi antenna routing, and Windows license implications. A proprietary system can require additional replacements that turn a case swap into a rebuild.
Airflow Changes That Commonly Backfire
- Installing every fan as exhaust and starving the case of directed intake air.
- Placing fans against a solid panel with no meaningful vent area.
- Removing dust filters permanently without planning more frequent cleaning.
- Using an unsupported splitter that overloads a motherboard fan header.
- Adding noise without retesting temperatures or performance.
- Replacing a case before checking for a stopped fan, clogged filter, or loose cooler.
- Changing several variables at once, making the useful modification impossible to identify.
Frequently Asked Questions
How many fans should a prebuilt gaming PC have?
There is no universal number, but two front intakes and one rear exhaust is a strong starting layout for a typical mid-tower. A low-power PC may need fewer, while high-end hardware may benefit from additional top exhaust or larger fans.
Will opening the side panel improve cooling?
It can lower temperatures when the case is restrictive, which makes it a useful diagnostic. It is usually not the best permanent solution because it increases dust and removes the intended airflow path.
Can adding fans void a warranty?
Policies vary. Some manufacturers allow user-installed fans and storage but exclude damage caused during installation. Read the warranty, keep the original parts, and avoid cutting or permanently modifying the chassis while coverage matters.
Should intake airflow be stronger than exhaust?
A slightly intake-biased setup can help reduce dust entering through unfiltered gaps. Exact airflow is affected by fan model, speed, filters, and restriction—not just the number of fans.
Does better airflow increase FPS?
Only if heat was causing the CPU or GPU to reduce clock speed. Otherwise, the main benefits are lower temperatures, lower fan noise, and potentially less wear. For game-focused buying options, see our prebuilt PCs for Fortnite under $1,000.
Bottom Line
Improve prebuilt airflow in a measured order: establish a temperature baseline, clean the system, confirm fan direction, clear the airflow path, tune the curves, and then add fans where they solve a specific weakness.
Retest after each major change with the same workload and room conditions. That process gives you lower temperatures without turning a simple cooling problem into an expensive and noisy rebuild.
