
Add a dedicated Steam-library drive without cloning Windows or downloading your entire game collection again.
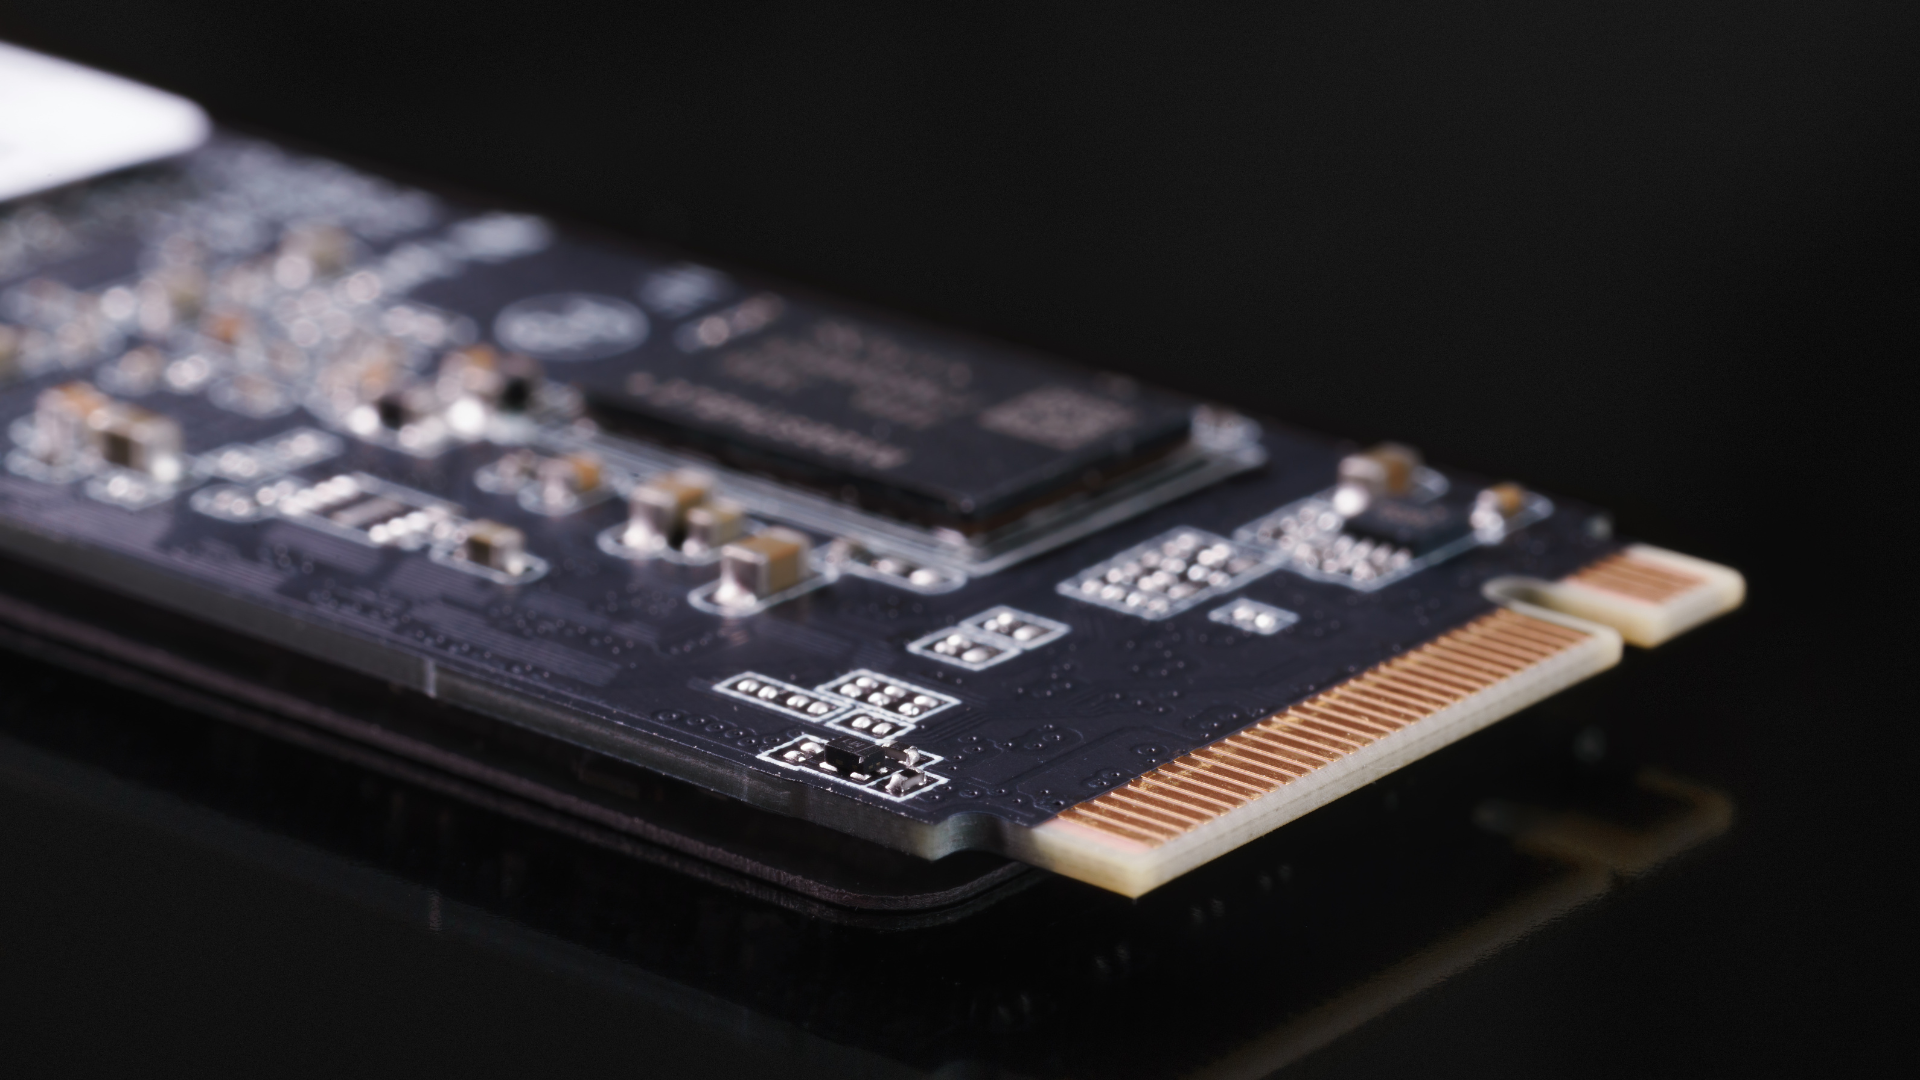
You can add a second SSD for Steam games while leaving Windows and the Steam application on your existing drive. The process is to install a compatible SSD, prepare the new blank drive in Windows, create a Steam library on it, and move selected games using Steam’s storage controls.
You do not need to clone the operating system for this upgrade. You also should not copy random Steam folders and hope the application reconstructs everything correctly when it already provides a supported way to move installations.
The steps below assume a Windows gaming PC and a genuinely new, blank SSD. If the drive already holds files you need, preserve those files and inspect the existing volume before doing anything that initializes, formats, or repartitions it.
Before Buying: Confirm How the Second SSD Will Connect
First, identify an available storage connection. On many desktop boards, the easiest option is another M.2 socket that supports NVMe drives. Other systems have an available SATA connection and mounting space for a 2.5-inch SSD.
A laptop may have one socket, two sockets, a restricted drive length, or no user-accessible expansion slot at all. Check the service manual for the exact model. An empty space inside the chassis is not proof that the necessary connector is present. Once compatibility is established, our 2TB NVMe recommendations for gaming laptops can help with the purchase.
For a desktop NVMe installation, use our guide to choosing the correct M.2 slot. It explains protocol, length, lane-sharing, and cooling checks.
If the PC is a prebuilt, verify its upgrade path before ordering. Our explanation of prebuilt gaming-PC upgrades covers why standard-looking systems can still have model-specific restrictions.
Choose Capacity Before Chasing Interface Speed
Open Steam’s storage settings and note the size of the games you want to move. Add room for titles you plan to install soon and for temporary update work. Do not size the new drive to fit today’s selected games with only a few gigabytes left over.
A secondary library SSD does not have to be the fastest drive in the PC. A suitable NVMe model with enough capacity is usually a more useful upgrade than a smaller premium model that quickly becomes crowded.
Compare compatible options in our SSD buying guide. If your collection is particularly large, consider the 4TB game-library recommendations before committing several motherboard sockets to smaller drives.
Step 1: Protect Saves and Identify the Existing Drives
Back up important saves, mod profiles, custom configuration files, and personal content before opening the system. Many game saves live outside the installation folder. Cloud synchronization helps when the game supports it, but verify its status instead of assuming every local file is covered.
Take a note or screenshot of the current drive models and capacities. This gives you a reliable comparison when a new disk appears in Windows. Drive letters and disk numbers can vary, so “Disk 1 must be the new SSD” is not a safe identification method.
If device encryption or BitLocker is enabled, make sure you have access to the recovery key through your usual account or backup method before changing hardware. You do not need to publish or share that key to perform this upgrade.
Step 2: Install the Drive With the PC Powered Down
Shut Windows down fully, switch off and disconnect desktop power, and follow the case or system manufacturer’s service instructions. For a laptop, follow its procedure for disabling or disconnecting the internal battery before working on the storage socket.
Handle the SSD by its edges. For an M.2 installation, place the retention point at the correct drive length, insert the drive into the connector as instructed, lower it gently, and secure it with the correct screw or latch.
The SSD should sit flat. Do not force it into place or use a mounting screw to bend it downward. If a motherboard heatsink uses a thermal pad, remove the pad’s shipping film and fit the cooler according to the manual.
A 2.5-inch SATA SSD needs both a data connection and power. When using a modular desktop power supply, use only cables confirmed compatible with that exact PSU. Similar-looking modular connectors do not establish electrical compatibility.
Close the system, restore power, and start it normally. You are adding storage; do not change the existing Windows boot order unless the machine has unexpectedly selected the wrong device.
Step 3: Confirm Detection Before Formatting Anything
Check whether the firmware or Windows identifies the expected model. A blank SSD may appear in Device Manager or Disk Management without appearing in File Explorer. That is normal when it does not yet have a usable volume and drive letter.
If the SSD is not detected at all, stop here and investigate installation, socket compatibility, and sharing rules. Formatting tools cannot repair a drive that the system does not electrically recognize.
Also stop if a drive you expected to contain files appears uninitialized. Initialization is for the new blank disk in this walkthrough, not a general repair for missing data.
Step 4: Prepare the New Blank SSD in Windows
Open Disk Management with administrator access and identify the newly added disk by its model, capacity, and the absence of existing volumes. Check against the information you recorded before installation.
If the new blank disk requires initialization, choose GPT for a modern Windows system. Then create a new simple volume in its unallocated space, assign an unused drive letter, and format it as NTFS using the default allocation size. Give it a descriptive label such as “Games.”
Microsoft’s new-disk instructions document this workflow. Confirm the selected disk before accepting any operation that changes its layout.
Once complete, open the drive in File Explorer and confirm the capacity is plausible. A marketed 2TB SSD will not appear as 2,000 binary gigabytes; the different units explain most of that apparent shortfall.
Step 5: Add the Drive to Steam’s Storage Settings
Open Steam, enter Settings, and select Storage. Use the drive selector or add-drive control to create a library location on the new SSD. Interface wording can change, but the destination should be the new volume you just prepared.
Steam itself can remain installed on the original drive. Its application folder and the folder containing a particular game’s large installation files do not need to occupy the same SSD.
Valve’s official library-move guidance describes adding storage locations and moving installed games.
After creating the library, confirm the displayed path and available capacity. If Steam offers a default-install location control, set it according to where you want future games to go. You can still choose another library for individual installations.
Step 6: Move One Game and Check It
In Steam’s Storage view, select the current source drive, select a game, and use Move to send it to the new library. You can also use the move-installation option under a game’s Installed Files properties when available.
Start with one game instead of the whole library. Let the operation finish, then launch it and load a familiar save. Confirm that expected mods and settings still work.
A move can be limited by the old drive’s read speed, the new drive’s write behavior, or the kinds of files involved. The number on the new SSD’s box is not a promise that the entire library transfers at that speed.
Once the first move succeeds, transfer the remaining selected games. Avoid launching a game while it is being moved, and let Steam manage the source files instead of deleting them manually mid-operation.
What Moves and What May Stay Behind
| Item | Typical handling | What to verify |
|---|---|---|
| Main game installation | Moved through Steam’s library controls | New install path and successful launch |
| Save files | May remain in a user folder or cloud service | Correct save loads after the move |
| Mods and mod-manager data | Depends on the game and tool | Paths, profiles, and local changes |
| Recordings and screenshots | Often use independent folder settings | Capture application’s destination |
A game that starts successfully is a good first check, but it does not prove every separate tool has learned the new path. Mod managers, external launch shortcuts, and custom scripts may need their own configuration changes.
If Steam Does Not See the New Drive
First check File Explorer. If Windows cannot open the volume, solve that issue before changing Steam. Confirm that the volume has a drive letter, is online, and uses a supported file system.
If Windows sees it but Steam does not, reopen Steam’s storage settings and inspect the available locations. Restart Steam normally if the application was open while the drive was prepared.
If the move fails, read the actual error. Check free space on the destination, whether the game is running, and whether another update is using it. A drive that repeatedly disappears or produces write errors needs investigation beyond changing the library folder.
Keep Both Drives Usable After the Upgrade
Do not move the library and then fill the new SSD to its limit immediately. Leave room for updates and future installations. Our guide to free space on gaming SSDs explains how to plan that reserve.
Continue checking C: as well. Launchers, user folders, and recordings can still grow there even when the game files live elsewhere. The point of a second drive is to make the PC easier to use, not to move the capacity problem from one volume to another.
Frequently Asked Questions
Do I need to reinstall Windows?
No. Adding a second library drive leaves the current operating-system installation in place. Cloning or reinstalling Windows is a different project, needed only if you also intend to replace or migrate the system drive.
Can Steam use both SSDs?
Yes. You can keep different games in libraries on different drives. Each game needs to be installed in a location Steam recognizes; the collection does not have to live on one volume.
Will games run faster on the new SSD?
Moving from a hard drive can improve storage-dependent loading and streaming behavior. Moving between suitable SSDs may produce a smaller difference. More storage capacity does not automatically increase the GPU’s frame-rendering performance.
