
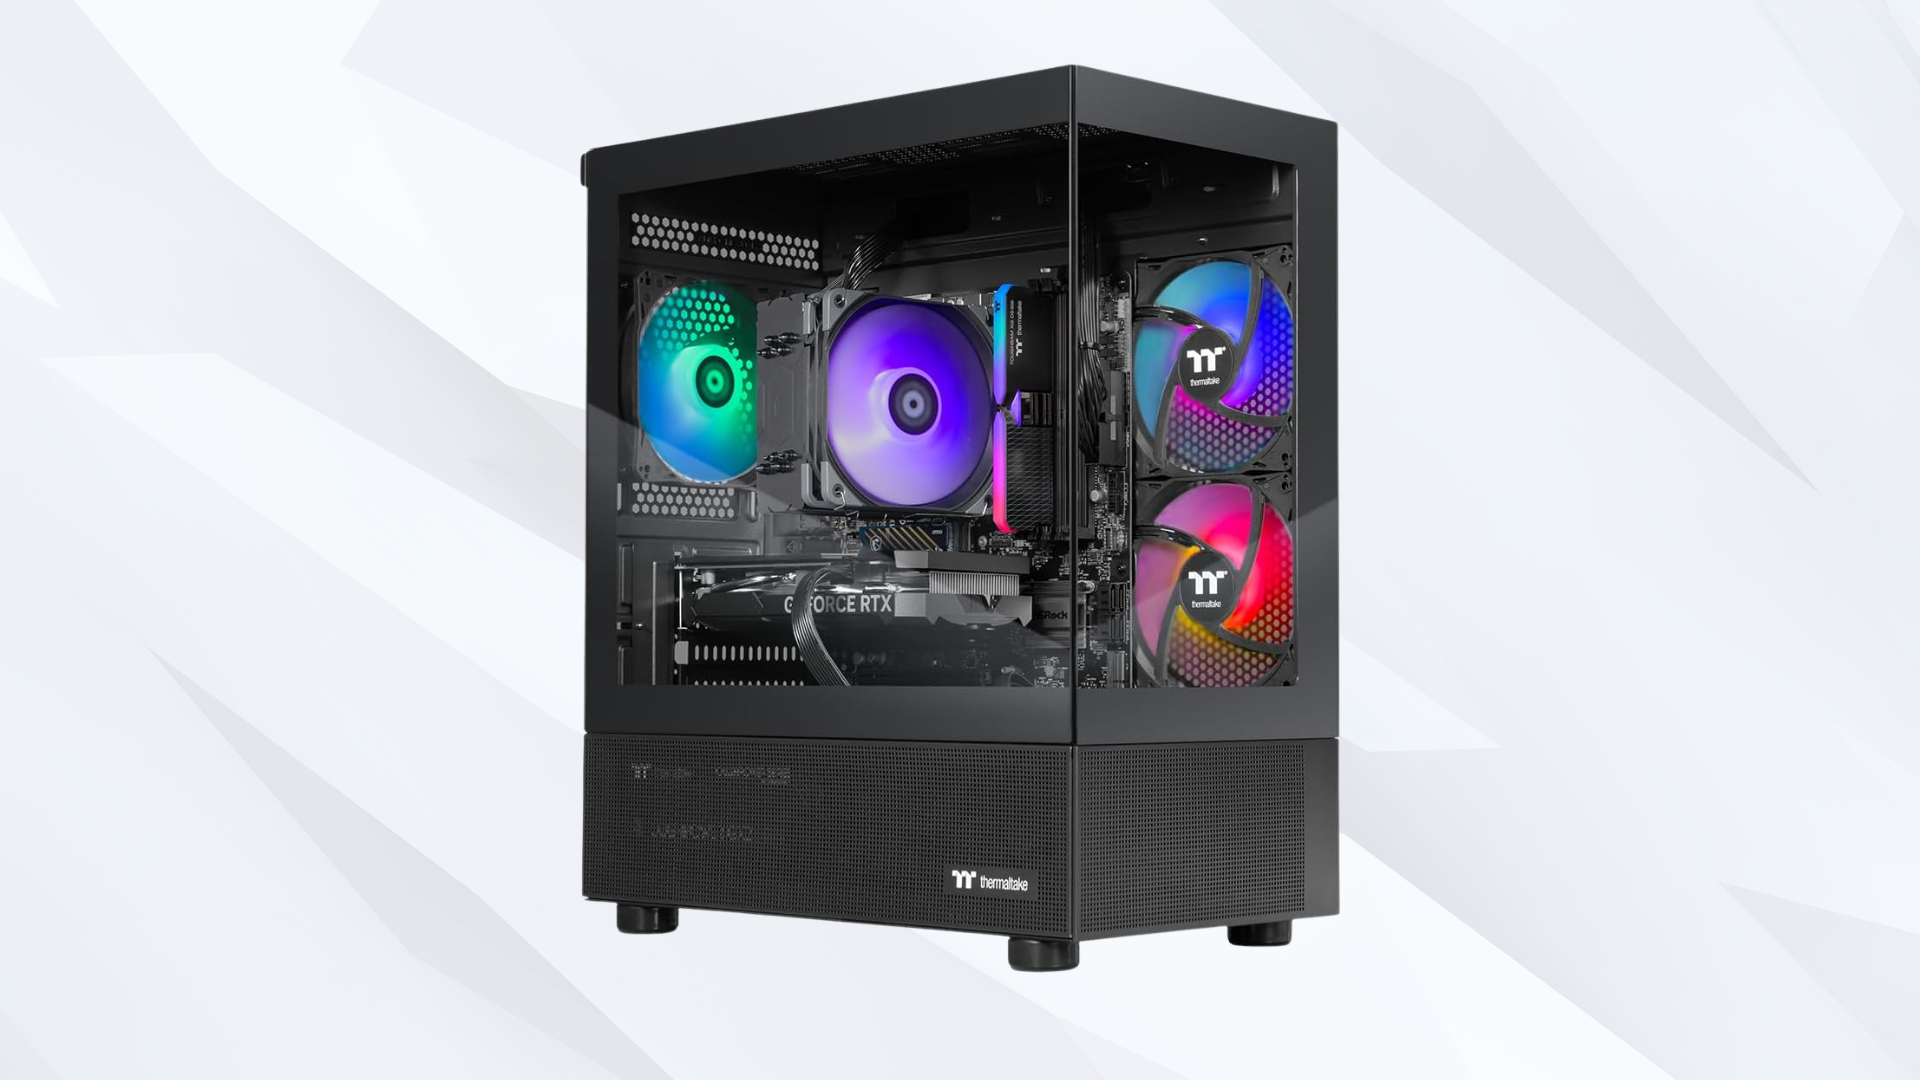
Most prebuilt gaming PCs under $1,000 can be upgraded, but the number and difficulty of those upgrades depends on how the system was built.
A prebuilt assembled from standard retail-style components may be almost as easy to modify as a custom PC. You can add storage, replace the memory, install a new graphics card, change the power supply, and sometimes upgrade the processor. A compact system from a large manufacturer may use a proprietary motherboard, power supply, case, or connectors that make the same changes difficult or impractical.
The good news is that you do not need to disassemble the entire computer to understand your options. A product manual, a few clear interior photos, and several specific measurements can tell you whether a prebuilt has a useful upgrade path.
Which Parts of a Prebuilt Gaming PC Can You Upgrade?
| Component | Typical Difficulty | Main Compatibility Check |
|---|---|---|
| RAM | Easy | DDR generation, capacity support, speed, and free slots |
| SSD | Easy | Open M.2 slot or SATA data and power connections |
| Graphics card | Moderate | Case clearance, PSU capacity, connectors, and slot width |
| Power supply | Moderate | Physical size and standard motherboard/GPU connectors |
| CPU cooler | Moderate | Socket, mounting holes, height, and motherboard control |
| Processor | Moderate to hard | Socket, chipset, BIOS support, power, and cooling |
| Motherboard | Hard | Case form factor, front-panel wiring, PSU, and Windows license |
Memory and storage are usually the safest first upgrades. Graphics card and power-supply changes require more planning, while a motherboard replacement can turn into a near-complete rebuild.
First, Find Out Whether the PC Uses Standard Parts
The most upgrade-friendly prebuilts tend to use common ATX, micro-ATX, or mini-ITX components. A standard motherboard has conventional 24-pin and CPU power connections, familiar mounting points, replaceable memory, PCIe expansion slots, and normal front-panel headers. A standard desktop power supply uses a common physical format and detachable or fixed cables with recognizable connectors.
Proprietary does not automatically mean bad. A manufacturer may design a compact system that is quiet, efficient, and reliable. The tradeoff is that a custom-shaped motherboard or unusual power connection can prevent you from installing an off-the-shelf replacement later.
Before buying a PC, search for its service manual and motherboard photos. Look for the exact model number—not just the product family—because two systems with similar names can use different internal layouts. Our pre-purchase guide on how to evaluate a prebuilt gaming PC includes a broader checklist for comparing systems.
Upgrading the RAM
Adding or replacing memory is usually the easiest way to improve an under-equipped prebuilt. If the machine has one 16GB module, adding a matching second module can enable dual-channel operation and increase memory bandwidth. If it has two 8GB modules, replacing them with a 2 x 16GB kit can raise total capacity to 32GB.
Check four things before ordering:
- Memory generation: DDR4 and DDR5 are physically and electrically incompatible.
- Desktop or laptop format: Most towers use full-size DIMMs; very small systems may use SO-DIMMs.
- Maximum supported capacity: Confirm the motherboard and system firmware support the amount you want.
- Speed and profile support: Some prebuilt motherboards do not expose XMP or EXPO settings, so fast memory may run at a lower default speed.
Mixing memory kits sometimes works, but it is not guaranteed even when the specifications look similar. A matched kit is the safer option if you are replacing the existing modules.
Adding More Storage
Storage is another beginner-friendly upgrade. Many systems include a single M.2 NVMe SSD and leave a second M.2 slot open. If no M.2 slot is available, the case may still have room for a 2.5-inch SATA SSD.
For an M.2 drive, verify the supported length and interface. A motherboard can have a slot that accepts SATA M.2 drives, NVMe drives, or both. Also check whether installing a second drive disables a SATA port or shares bandwidth with another slot.
A SATA SSD needs both a SATA data cable connected to the motherboard and a SATA power plug from the power supply. Prebuilts sometimes omit the extra cable even when the mounting location is available, so inspect what is included.
You can normally keep the original SSD as the boot drive and use the new one for games. That avoids reinstalling Windows and makes the upgrade relatively low risk.
Installing a New Graphics Card
A graphics-card upgrade can produce the largest improvement in gaming performance, but it requires the most compatibility checks. A card that fits the motherboard slot may still be too long, too tall, too thick, too power-hungry, or blocked by a drive cage.
Measure the Available Space
Measure from the rear expansion slots to the first obstruction at the front of the case. Then compare that number with the card’s published length. Leave extra room for power cables and airflow rather than choosing a card that barely fits.
Check thickness as well. Modern graphics cards can occupy two, three, or more expansion slots. A very thick card may cover another PCIe slot or sit too close to the power-supply shroud. Height matters when the power connector exits from the side of the card, because the cable should not be crushed against the side panel.
Check the Power Supply
Confirm the power supply’s brand, model, rated capacity, and available GPU connectors. Do not use a simple SATA-to-PCIe adapter to power a high-demand graphics card. If the new GPU requires a connector the power supply does not have, replacing the PSU is usually safer than improvising.
The recommended wattage on a GPU specification page is a starting point, not the only factor. CPU power consumption, PSU quality, connector limits, and transient loads also matter. Consult our guide to choosing a power supply for a gaming PC before pairing an expensive GPU with an unknown unit.
Confirm Firmware and Boot Compatibility
Most modern desktop GPUs work in modern PCIe x16 slots, and PCIe generations are generally backward-compatible. Very old systems can present firmware problems, however. Update the system BIOS when the manufacturer recommends it, and verify that features such as UEFI boot and Resizable BAR are supported if they are important to the new card.
Once installed, connect the monitor to the new graphics card, not the motherboard. Remove the previous graphics driver if you are switching GPU brands, then install the current driver for the new card.
Replacing the Power Supply
A power-supply replacement is straightforward only when the case and motherboard use standard dimensions and connectors. First determine whether the PC accepts a normal ATX or SFX unit. Then inspect the motherboard connections.
A conventional desktop board usually has a 24-pin motherboard connector and a separate 4-pin or 8-pin CPU power connector. Some proprietary systems use smaller or differently wired connectors. Adapter cables exist for certain models, but they add another failure point and can make future troubleshooting harder.
Also check whether the case has enough room for the power supply and its cables. A unit can share the same nominal form factor while being longer than the original. Modular cables are specific to the PSU model: never reuse modular cables from the old unit unless the manufacturer explicitly confirms compatibility.
Upgrading the Processor
A CPU can fit the motherboard’s socket and still be unsupported. The motherboard chipset, BIOS, voltage regulation, power limits, and cooler all affect compatibility.
Find the prebuilt manufacturer’s supported processor list or firmware notes. Do not rely only on a generic socket compatibility chart. Large OEMs may use custom BIOS versions that support fewer processors than a retail motherboard with the same chipset.
Consider whether the upgrade is financially sensible. Moving to a slightly faster processor on the same platform may not produce a noticeable gaming improvement. If the desired chip also requires a larger cooler and power supply, saving for a platform upgrade could be better value.
For a new purchase, choosing a balanced starting configuration is easier than correcting a weak one. See what specs a $1,000 gaming PC should include before assuming you can cheaply upgrade it later.
Will Upgrading Void the Warranty?
Warranty terms vary by manufacturer and location, so read the actual policy for your system. Some companies allow memory, storage, and graphics-card upgrades but do not cover damage caused during installation. Others require the original parts to be reinstalled before warranty service.
Keep every original component, screw, bracket, and cable. Photograph the interior before changing anything, work with the computer unplugged, and protect components from static electricity. If a sticker claims that opening the case voids the warranty, check the consumer-protection rules that apply where you live rather than assuming the sticker settles the issue.
Best Upgrade Order for a Prebuilt Under $1,000
- Fix configuration problems first. Enable the correct memory profile if supported, update drivers, and confirm temperatures are normal.
- Add storage when space is the limitation. This is inexpensive, low risk, and does not make existing parts obsolete.
- Move to dual-channel RAM or 32GB when needed. Do this before replacing major components if the current memory setup is holding the system back.
- Upgrade the GPU when gaming performance is the goal. Check clearance and power before buying.
- Replace the PSU if the new GPU requires it. Use a properly sized, reputable unit with native connectors.
- Upgrade the CPU only when benchmarks show it is the bottleneck. Confirm BIOS support and cooling first.
This order is not universal, but it prevents a common mistake: buying a powerful graphics card and only afterward discovering that the case or power supply cannot support it.
Frequently Asked Questions
Can I put any graphics card in a prebuilt PC?
No. The motherboard slot is only one requirement. The card must physically fit, the power supply must provide enough capacity and the correct connectors, the case must have adequate ventilation, and the system firmware must support the card.
Can I add more RAM to a prebuilt gaming PC?
Usually, yes. Match the correct DDR generation and check the motherboard’s maximum capacity and available slots. A matched kit is preferable to combining unrelated modules, and some OEM boards may limit memory speeds.
Can I replace a prebuilt motherboard?
You can if the case, power supply, front-panel wiring, cooler, and operating-system license are compatible. In a proprietary system, replacing the motherboard may also require a new case and PSU, which turns the project into a partial rebuild.
Is it cheaper to upgrade a prebuilt or build a new PC?
Memory, storage, and a compatible GPU upgrade are often cost-effective. If you need to replace the CPU, motherboard, memory, PSU, and case at the same time, a new build may be more sensible. Our guide on how much it costs to build a gaming PC can help you compare the two paths.
How long can upgrades extend a prebuilt’s life?
A well-chosen GPU, memory, or storage upgrade can extend useful life by several years, depending on your games and performance target. Our companion article explains how long a $1,000 gaming PC should last and when an upgrade makes sense.
Bottom Line
You can upgrade most prebuilt gaming PCs under $1,000, especially their memory and storage. The real question is whether the manufacturer used standard parts and left enough physical, electrical, and firmware headroom for the change you want.
Check those constraints before you buy the PC—and again before you order an upgrade. A five-minute inspection of the manual, motherboard connectors, PSU label, and case measurements can prevent an expensive part from becoming an equally expensive paperweight.
