
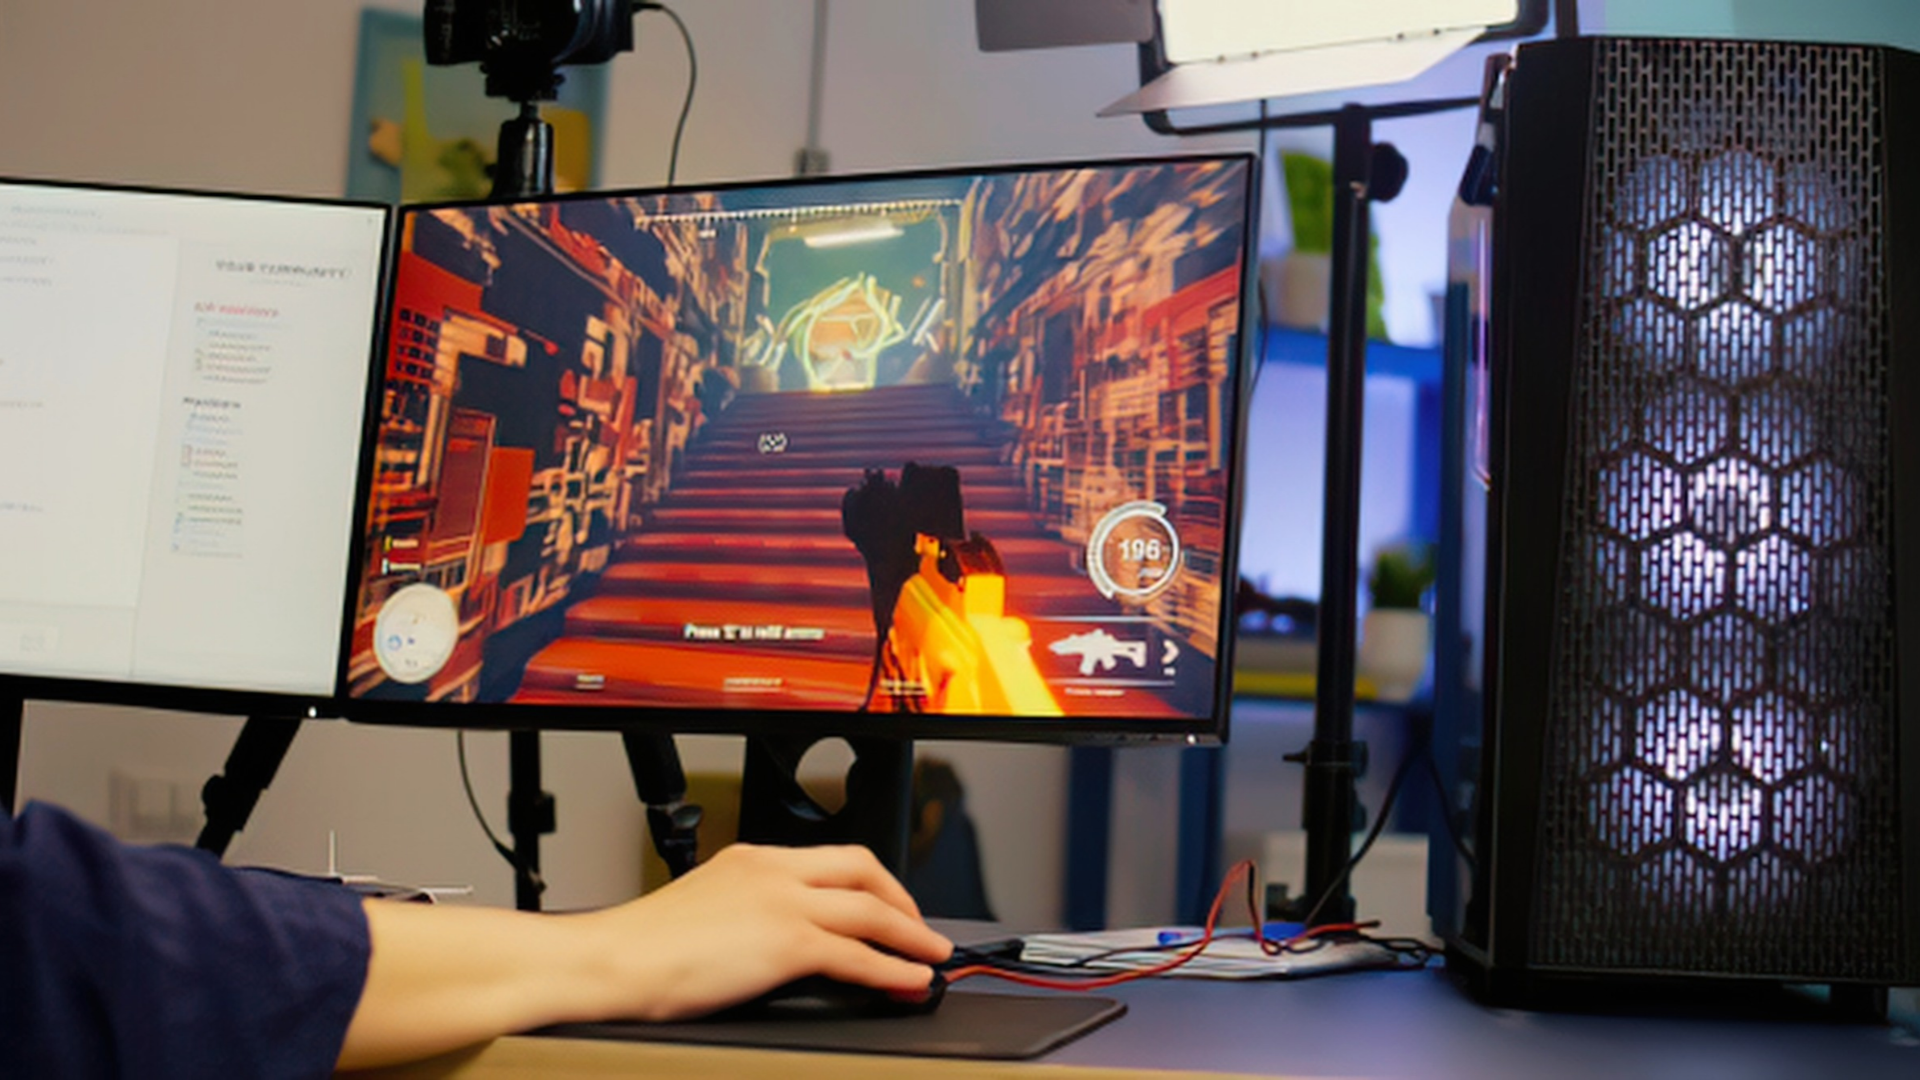
A PC gaming setup is more than just a computer, monitor, keyboard, and mouse. It is a personal space where gamers spend hours playing games, communicating with friends, streaming, and working. However, regular use can quickly lead to dust accumulation, dirty surfaces, tangled cables, and clutter. Without proper maintenance, these small problems can affect the appearance of the gaming area and may even create issues for computer hardware.
Maintaining a clean gaming environment does not always require expensive equipment or complicated routines. Using suitable cleaning products, including a wet & dry vacuum for compatible hard-floor cleaning, can help manage everyday dirt, dust, and accidental liquid spills around the gaming area. With a few simple habits, gamers can keep their rooms organized, protect their equipment, and enjoy a more comfortable gaming experience.
Why Keeping Your Gaming Setup Clean Matters
Gaming computers contain several components that generate heat during operation. Processors, graphics cards, power supplies, and cooling fans all need proper airflow to maintain suitable operating temperatures. When dust collects around ventilation areas, it can restrict airflow and make cooling less effective.
A dirty gaming setup can also affect the overall experience. Dust-covered monitors, greasy keyboards, and cluttered desks make the environment less comfortable. Food crumbs and spilled drinks can create additional problems, particularly when they get close to electronic equipment.
Regular cleaning helps prevent unnecessary buildup and makes it easier to identify potential hardware issues. It also keeps gaming accessories in better condition and reduces the amount of time needed for occasional deep cleaning.
1. Remove Dust From Your PC Case Regularly
Dust is one of the most common problems affecting desktop gaming computers. It can enter through ventilation openings and collect on fans, filters, heatsinks, and other internal components.
Although modern PC cases often include dust filters, these still require occasional maintenance. A clogged filter can reduce airflow and make cooling systems work harder.
Start by switching off your computer and disconnecting its power cable before cleaning. Allow the components to cool down completely. Remove accessible dust filters and clean them according to the manufacturer’s instructions.
For internal cleaning, use compressed air or an electronics-safe electric air duster. Hold fans in place while cleaning to prevent them from spinning excessively. Avoid using household vacuum cleaners directly on internal PC components because of the risk of static electricity and accidental contact with sensitive parts.
A regular inspection every few weeks can help you identify dust buildup before it becomes difficult to remove.
2. Keep Your Keyboard and Mouse Clean
Keyboards and mice are among the most frequently used gaming peripherals. During long gaming sessions, they collect fingerprints, skin oils, dust, and food particles.
A mechanical keyboard can be particularly challenging to maintain because dust and crumbs can settle between individual keys. Over time, this buildup may affect the feel of the keys and make the keyboard less pleasant to use.
To clean your keyboard, disconnect it from your computer or switch it off if it is wireless. Use a soft brush or compressed air to remove loose particles. A slightly damp microfiber cloth can help clean the keycaps and outer surfaces.
For gaming mice, pay attention to the buttons, scroll wheel, and sensor area. Use a clean microfiber cloth and avoid allowing moisture to enter openings.
Never spray cleaning liquid directly onto your keyboard or mouse. Apply a small amount to the cloth instead and follow the manufacturer’s cleaning recommendations.
3. Clean Your Gaming Monitor Without Damaging It
A clean monitor makes gaming more enjoyable and helps maintain clear visuals. Dust, fingerprints, and small marks can accumulate on the screen, especially when the monitor is positioned near a window or in a frequently used room.
However, monitor screens require careful handling. Using paper towels, rough fabrics, or strong household cleaning chemicals can damage certain screen coatings.
Follow these simple steps:
- Turn off the monitor and allow it to cool.
- Use a clean, dry microfiber cloth to remove loose dust.
- For stubborn marks, follow the manufacturer’s instructions for an appropriate screen-cleaning solution.
- Never spray liquid directly onto the display.
- Avoid pressing too hard while wiping the screen.
The monitor stand and surrounding desk area should also receive regular attention. These surfaces often collect dust that can eventually spread back onto the display.
4. Organize Cables and Gaming Accessories
Cable management is another important part of maintaining a clean gaming setup. A typical gaming desk may contain power cables, USB connections, monitor wires, headset cables, Ethernet connections, and controller charging leads.
When these cables are left tangled, they make the desk look messy and can create problems when moving equipment or cleaning the area.
Cable clips, reusable ties, cable sleeves, and under-desk cable trays can help keep everything organized. Before rearranging connections, identify which cable belongs to each device.
Avoid bending cables sharply or placing heavy objects on top of them. Keep power connections away from areas where drinks or other liquids could accidentally spill.
Good cable management also makes future upgrades easier because you can access connections without moving every device.
5. Keep the Gaming Desk and Surrounding Area Clean
The desk is the central part of most gaming setups. It holds the monitor, keyboard, mouse, speakers, controllers, and other accessories. Because it receives constant use, it can quickly become covered in dust, fingerprints, and small food particles.
Remove unnecessary objects before cleaning. Use a microfiber cloth suitable for the desk’s material, and follow the manufacturer’s recommendations for wooden, glass, or metal surfaces.
Pay attention to less visible areas, including:
- The back of the monitor stand.
- Desk corners and edges.
- Mousepad surfaces.
- Headphone stands.
- Speaker bases.
- Areas behind keyboards and controllers.
A large gaming mousepad may also require occasional cleaning. Check its care instructions before washing it, as different materials have different cleaning requirements.
Keeping the desk clear makes it easier to clean regularly and provides more comfortable space for gaming activities.
6. Protect Your Gaming Equipment From Liquid Spills
Accidental spills are among the most serious risks to a gaming setup. A knocked-over water bottle, coffee cup, or soft drink can damage a keyboard, mouse, monitor, or computer if liquid reaches sensitive electronic components.
Prevention should always be the first priority. Keep drinks away from your computer tower and other electronic devices. Using a separate side table or a bottle with a secure lid can reduce the risk of accidents.
If liquid spills near electronic equipment, take immediate precautions. Switch off and disconnect affected equipment only when it is safe to do so. Never touch electrical connections or wet plugs with wet hands. If water has entered a device, avoid turning it back on to test whether it works. Have it inspected by a qualified technician.
For spills on compatible hard flooring, use an appropriate cleaning method that does not put electrical equipment at risk. A suitable wet-cleaning appliance can help remove liquid from supported floor surfaces, but it should never be used on a computer, keyboard, monitor, or other electronic components.
Separating floor cleaning from electronics maintenance is essential for keeping the entire gaming area safe.
7. Maintain Proper Airflow Around Your Gaming PC
A powerful gaming computer needs enough space to draw in cool air and release warm air. Placing a PC case inside a tightly enclosed cabinet or directly against a wall can interfere with ventilation.
Make sure the case has sufficient clearance around its intake and exhaust areas. Avoid placing it directly on thick carpets, particularly if its bottom ventilation openings are close to the floor.
If your PC has removable dust filters, inspect them regularly. Also check that cables, curtains, and nearby objects are not blocking the airflow.
Monitor system temperatures occasionally through reliable hardware monitoring software. If temperatures suddenly increase, inspect the fans, filters, and ventilation areas.
Good airflow can help maintain stable operating conditions and reduce unnecessary thermal stress on components.
8. Clean Your Gaming Chair and Headset
Gaming chairs and headsets are often overlooked during routine cleaning. However, both come into direct contact with the user and can accumulate dust, sweat, and oils.
For gaming chairs, cleaning methods depend on the material. Fabric upholstery may require vacuuming with a suitable upholstery attachment, while leather or synthetic leather generally needs a soft cloth and manufacturer-approved cleaning products.
Headsets should also receive regular attention. Wipe the outer surfaces and headband with an appropriate cloth. Removable ear cushions can be cleaned according to the manufacturer’s recommendations.
Avoid soaking headset cushions or allowing moisture to enter the speakers and electronic controls. Proper maintenance can improve comfort and help extend the useful life of these accessories.
9. Use a Simple Gaming Setup Cleaning Schedule
One of the easiest ways to maintain a gaming environment is to follow a consistent cleaning routine. Instead of waiting until everything becomes dirty, divide maintenance into smaller tasks.
| Cleaning Frequency | Recommended Tasks |
| Daily | Remove food wrappers, organize accessories, and wipe visible spills |
| Weekly | Clean the desk, keyboard, mouse, monitor, and gaming chair |
| Every 2–4 Weeks | Inspect PC dust filters, clean the surrounding floor, and organize cables |
| Every 2–3 Months | Perform a deeper inspection of PC ventilation and clean accessible internal areas |
| As Needed | Clean headset cushions, mousepads, and other frequently used accessories |
The schedule can be adjusted depending on how frequently the gaming setup is used and how quickly dust accumulates in the room.
A household with pets, open windows, or heavy daily activity may need more frequent cleaning than a smaller, enclosed gaming room.
10. Avoid Common Gaming Setup Cleaning Mistakes
Cleaning your gaming area is important, but using the wrong methods can create unnecessary problems. Some cleaning habits may damage electronic equipment or reduce the lifespan of accessories.
Here are a few mistakes worth avoiding:
Using too much liquid: Excess moisture can enter electronic components and damage circuits. Always use appropriate cleaning products and apply them carefully.
Cleaning while devices are powered on: Disconnect equipment before cleaning areas where moisture, dust removal, or physical contact could create risks.
Using household vacuum cleaners inside a PC: Static electricity and accidental contact can damage sensitive components. Use electronics-appropriate cleaning methods instead.
Ignoring ventilation areas: Cleaning only visible surfaces while leaving filters and air vents clogged defeats an important part of PC maintenance.
Forgetting the floor: Dust and dirt on the floor can easily move back onto desks and equipment. Regular floor cleaning helps maintain a cleaner overall environment.
Final Thoughts
A clean PC gaming setup supports a more comfortable and organized gaming experience. From removing dust inside the computer case to cleaning keyboards, monitors, chairs, and surrounding floors, every small maintenance task contributes to a better environment.
The most effective approach is to combine regular cleaning with sensible equipment care. Keep drinks away from electronics, maintain proper airflow, organize cables, and use cleaning products designed for the surfaces being treated.
You do not need an expensive collection of cleaning equipment to maintain a gaming room. A few suitable tools, a consistent routine, and careful handling of electronic components are often enough to keep your setup looking good and working reliably for years.
