This $1,000 build is the perfect 1440P gaming machine.
Are you looking to hop into higher resolution gaming? With a budget of around ~$1,000, you can build a monster 1440P gaming computer.
With an AMD Ryzen 5 7600X, a Radeon RX 9060 XT (16GB), and 16GB of RAM, this build will run any game on a 2K display and maintain a very high average framerate.
You will have to build it, though, as you’ll be hardpressed to find this kind of performance out of a similarly-priced prebuilt PC. Fortunately, that’s easy to do with our Step-By-Step PC Building Guide.
Watch us build this PC and see the full part list below.
Watch Us Build This PC
How to Choose Parts for A PC Build
We are constantly looking for the best deals on PC components to provide you with part lists that will offer optimal performance for your budget. You can watch us build PCs on our YouTube channel and we’ve also put together a Beginner’s Guide to Choosing Components that will help you pick the right parts for your build.
Important: For help choosing parts or for any questions you might have, check the FAQ section below, or ask a question in the comment section.
Gaming PC Build | Budget Allocation Calculator
This calculator aims to help you determine how much you should spend on each component based on your budget and use-case.
$1,000 Gaming PC Build
AMD Ryzen 5 7600X + AMD Radeon RX 9060 XT 16GB


Part List
- CPU: AMD Ryzen 5 7600X
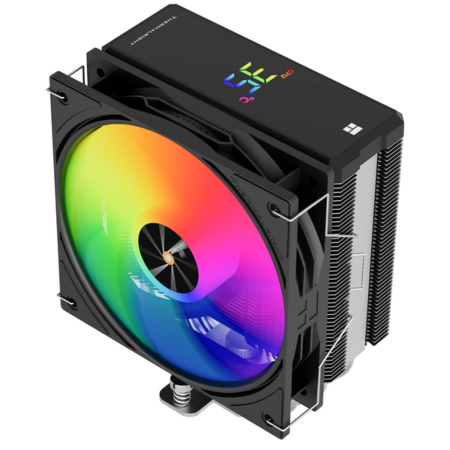
- COOL: Thermalright Assassin X
- MOBO: ASRock B650 Lightning
- GPU: GIGABYTE RX 9060 XT
- RAM: 16GB Kingston FURY
- SSD: 1TB Crucial P310
- CASE: Montech AIR 903
- PSU: Corsair RM750e
Pros & Cons
- Great 1440P performance & decent 4K performance
- More raw performance than NVIDIA GPU alternative
- Good cooling configuration
- Less upscaling/ray tracing performance that NVIDIA GPU alternative
- Without X3D chip, less performance in CPU-intensive games
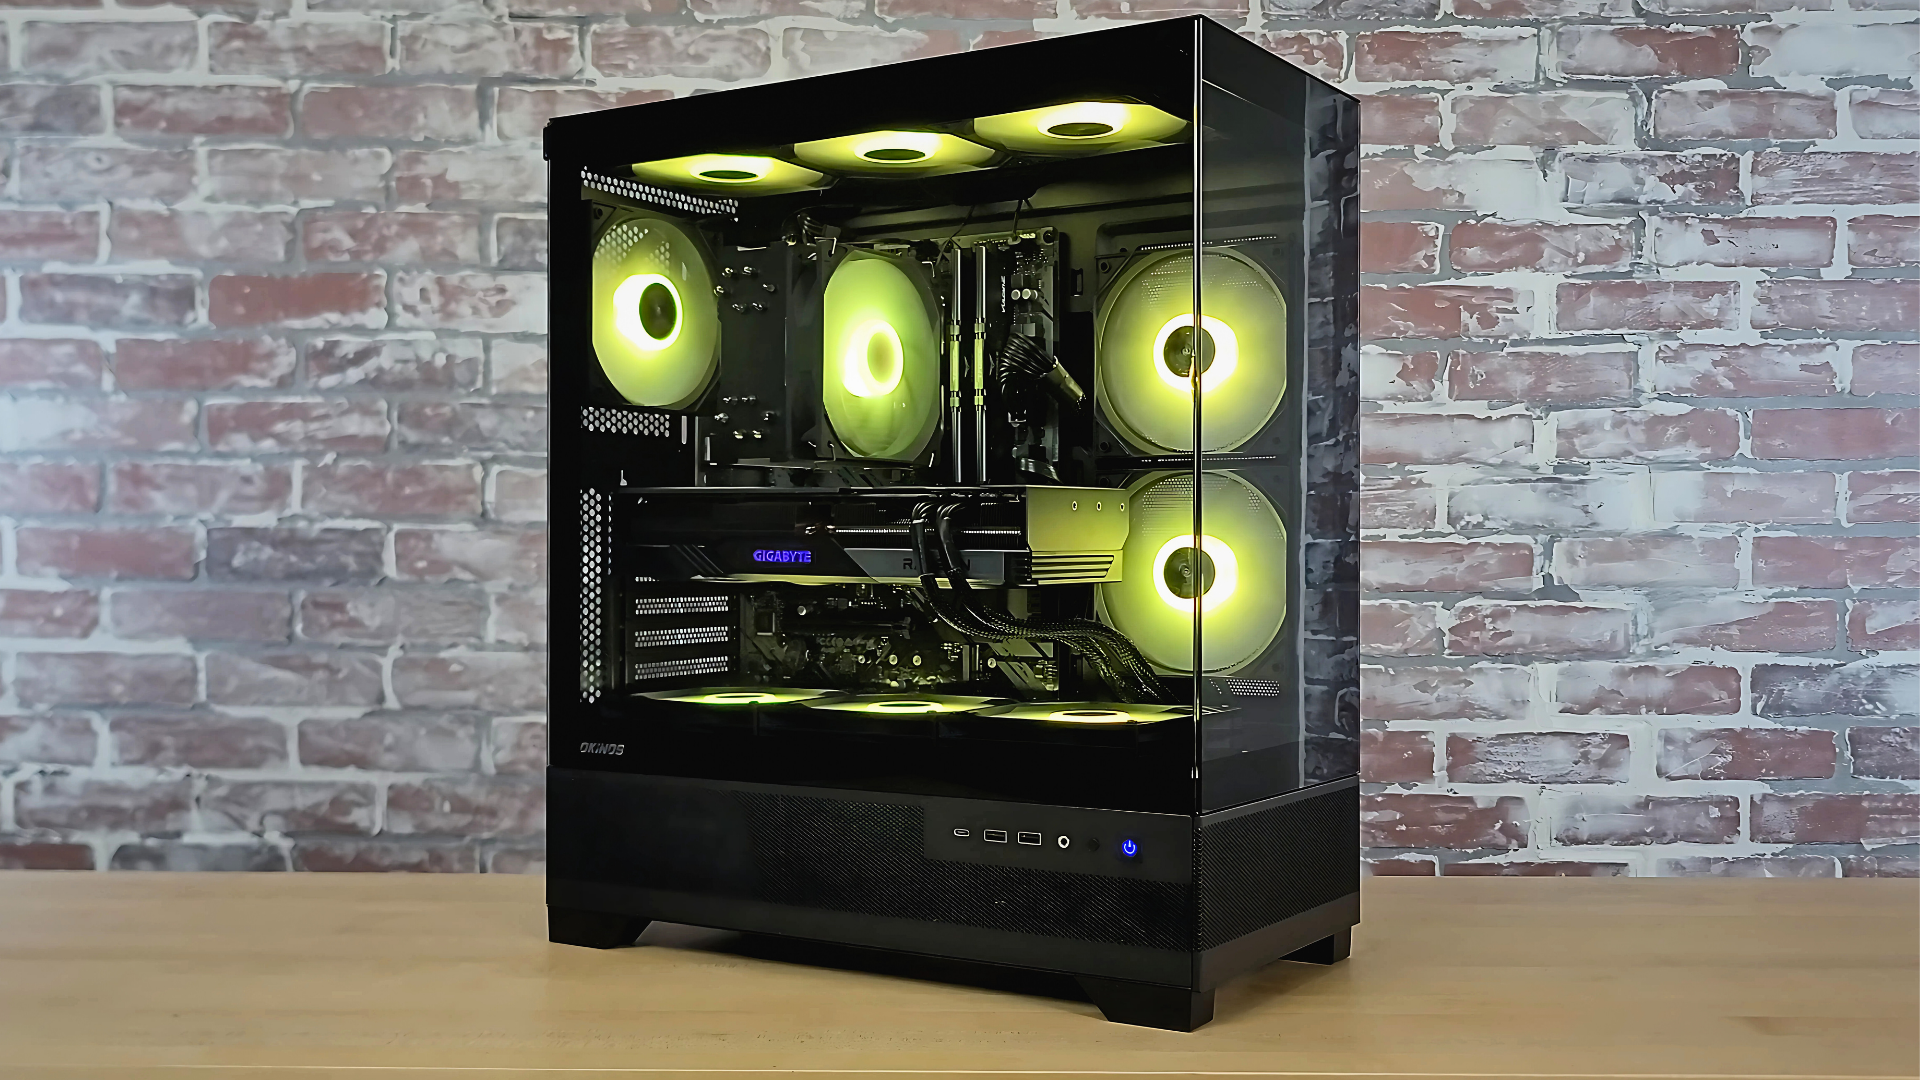
$1,000 PC Build Overview
You’re not messing around anymore. No more consoles. No more cheap laptops. No more older desktops that can barely run Minecraft. It’s finally time to ascend.
This $1,000 build is no joke. This thing is ready to handle anything you throw at.
For specs, this $1,000 build comes with an AMD Ryzen 5 7600X processor, an Gigabyte RX 9060 XT 16GB graphics card, 16GB of Kingston’s Fury 5200MHz RAM, and a Crucial P3 Plus 1TB NVME SSD.
For performance, this build can handle gaming on a 1440P 240Hz+ monitor and will serve as a nice entry point into 4K gaming as well. So, even if you do start out with a 1080P monitor, this build can easily accommodate a monitor upgrade in the future, too.
For 1080P gaming, it would be best to pair this build with a 360Hz+ display. Anything less and you’ll likely be wasting the power of the 9060 XT. If you do just want to game at 1080P, you could save some money and opt for a cheaper GPU instead, or you could potentially bump up the CPU to an X3D chip.
To hold the components in this system, we’ve chosen the Montech 903 Max. This case is a fairly affordable E-ATX chassis that will give you more than enough room to house the parts in this build. It also comes with four preinstalled fans.
For the power supply, you get a gold-rated fully-modular power supply from Corsair. This unit has enough capacity to accommodate the 9060 XT very easily.
Ultimately, this build is a powerful machine that will allow you to max out your favorite games for years to come.
Benchmarks
![5600X + 7800 XT Benchmark in 17 Games [1080P & 1440P]](https://techguided.com/wp-content/cache/flying-press/e41b6c06acbf48e95a56612938184926.jpg)
Why Build A PC?

Build FAQ
We chose each of these components for a reason—but there are viable alternatives. Below, we discuss why we chose the components listed above for this build and what other alternatives there are…
FAQ
1. How Do I Build This PC?
You will need to assemble all of the individual components you have purchased into a working PC. Fortunately, this process is not difficult! And, it’s a lot of fun. If you’ve never built a PC before, use our Step-by-Step PC building guide to walk you through the process.
How to Build A Gaming PC: Step-by-Step
2. AMD or Intel Processor?
In my opinion, you have a bunch of viable CPU options with a $1,000 PC build. We decided to try and strike a nice balance between the CPU and GPU with this $1,000 part list and, to do so, we chose an affordable CPU that wouldn’t be a significant bottleneck to the 9060 XT.
That CPU is the AMD Ryzen 5 7600X.
It would be worth it to check and see what the price of the Ryzen 5 9600x is before you commit to the 7600X, though. Right now the price difference is wide enough and the performance difference small enough to where we thought it would be best to opt for the 7600X
There are solid Intel alternatives (i5-13400F and i5-1440F), however we like the AM5 CPUs better as they offer an easy upgrade path to a Ryzen 7 X3D chip, which is about as good as you’re going to get in terms of gaming performance right now.
3. How Does This Compare to A Prebuilt

4. Plenty of Case Options
There are so many different gaming cases available in the ~$45-$75 price range that would work for this build. We chose the Montech 903 Max, though, because of its affordable price and out-of-the-box cooling.
There are a lot of solid case options in the ~$50-$100 price range, though. You can check out some of our recommendations in our PC Case Buyer’s Guide.
5. How Big of A Power Supply?
We use Newegg’s PSU calculator to determine the power consumption for each of our builds. Accoding to Newegg, even in the most extreme scenarios, this $1,000 gaming PC will require a minimum ~600W power supply.
So, we went with a little bit of extra headroom with a 750-watt unit to ensure there would be no problems down the road. This will not only accommodate this build easily, but it will also allow for GPU upgrades in the future that won’t also require a power supply upgrade.
Check out our guide on How to Choose the Right Power Supply for Your Build.
Conclusion: A Build That Will Max Out Anything
Really, if I had to choose what the perfect budget was for building a gaming computer in terms of value, I would probably say right around the $1,000 mark. As you can see, in this price range you can afford a list of components that will allow you to play any game out there on the highest settings on a 1080P or 1440P monitor.
These parts are also good enough to handle most games at 4K resolution as well.
And, you also get plenty of storage, too. Finally, if you can get the cable management right on this build, and maybe throw in some RGB fans on the front and back of the case, this build will look really nice, too.
So, overall, for ~$1,000 this gaming PC build has everything most gamers could ever want or need.
If you have any questions about the build, or need help choosing components, leave a comment in the section below and we will help you out.
Get Help With Your Build: If you need help putting together a part list for your build post your questions in the comment section!
