
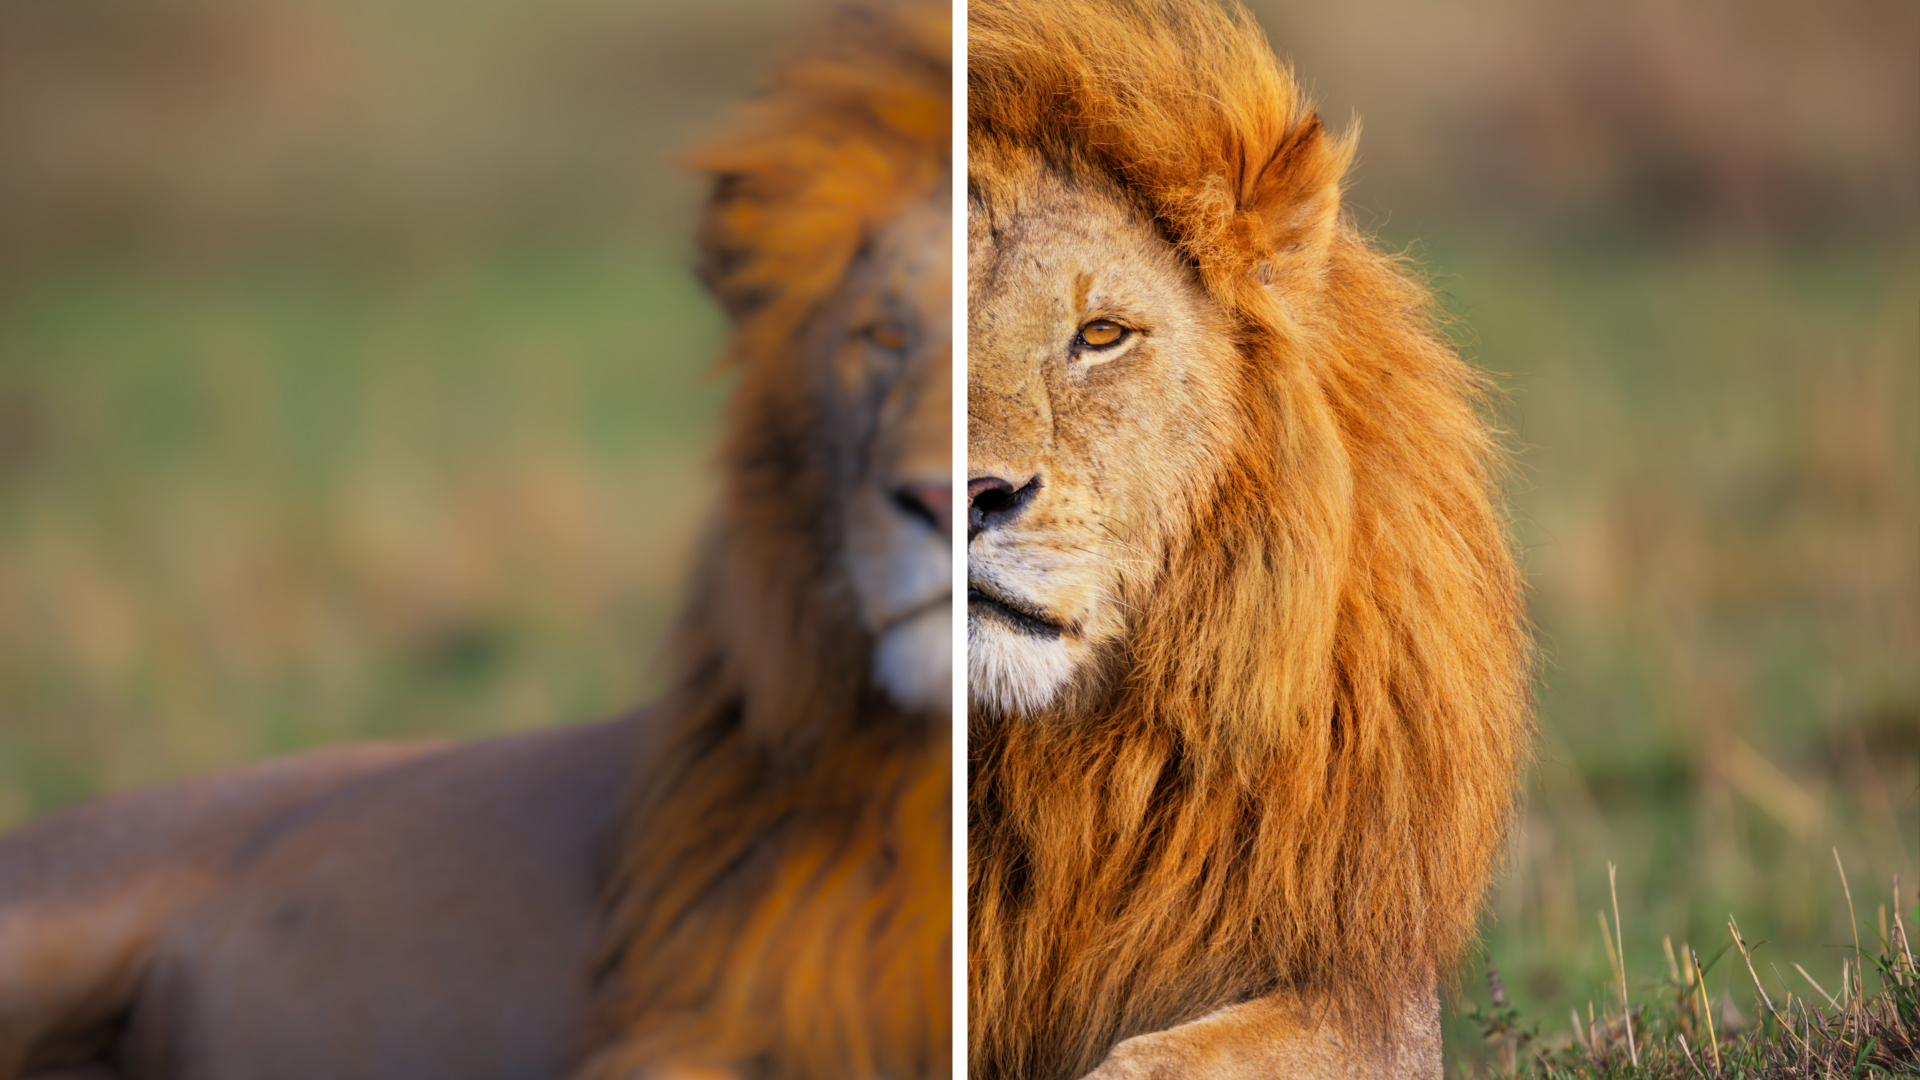
You open a video, and it has two problems. There’s a watermark on it, and the quality looks soft because of compression or low resolution.
So, what’s your first idea?
One watermark removal tool, and one enhancement tool. Right?
There’s a catch, however. The order in which you do these tasks can have a profound impact on the outcome quality. Get it wrong, and you’ll have more export and re-compression to do, and more work to edit!
So, the real question isn’t which tool to use first — it’s which workflow gives you the cleanest result. In this guide, we’ll look at the best order for videos you own or have permission to edit.
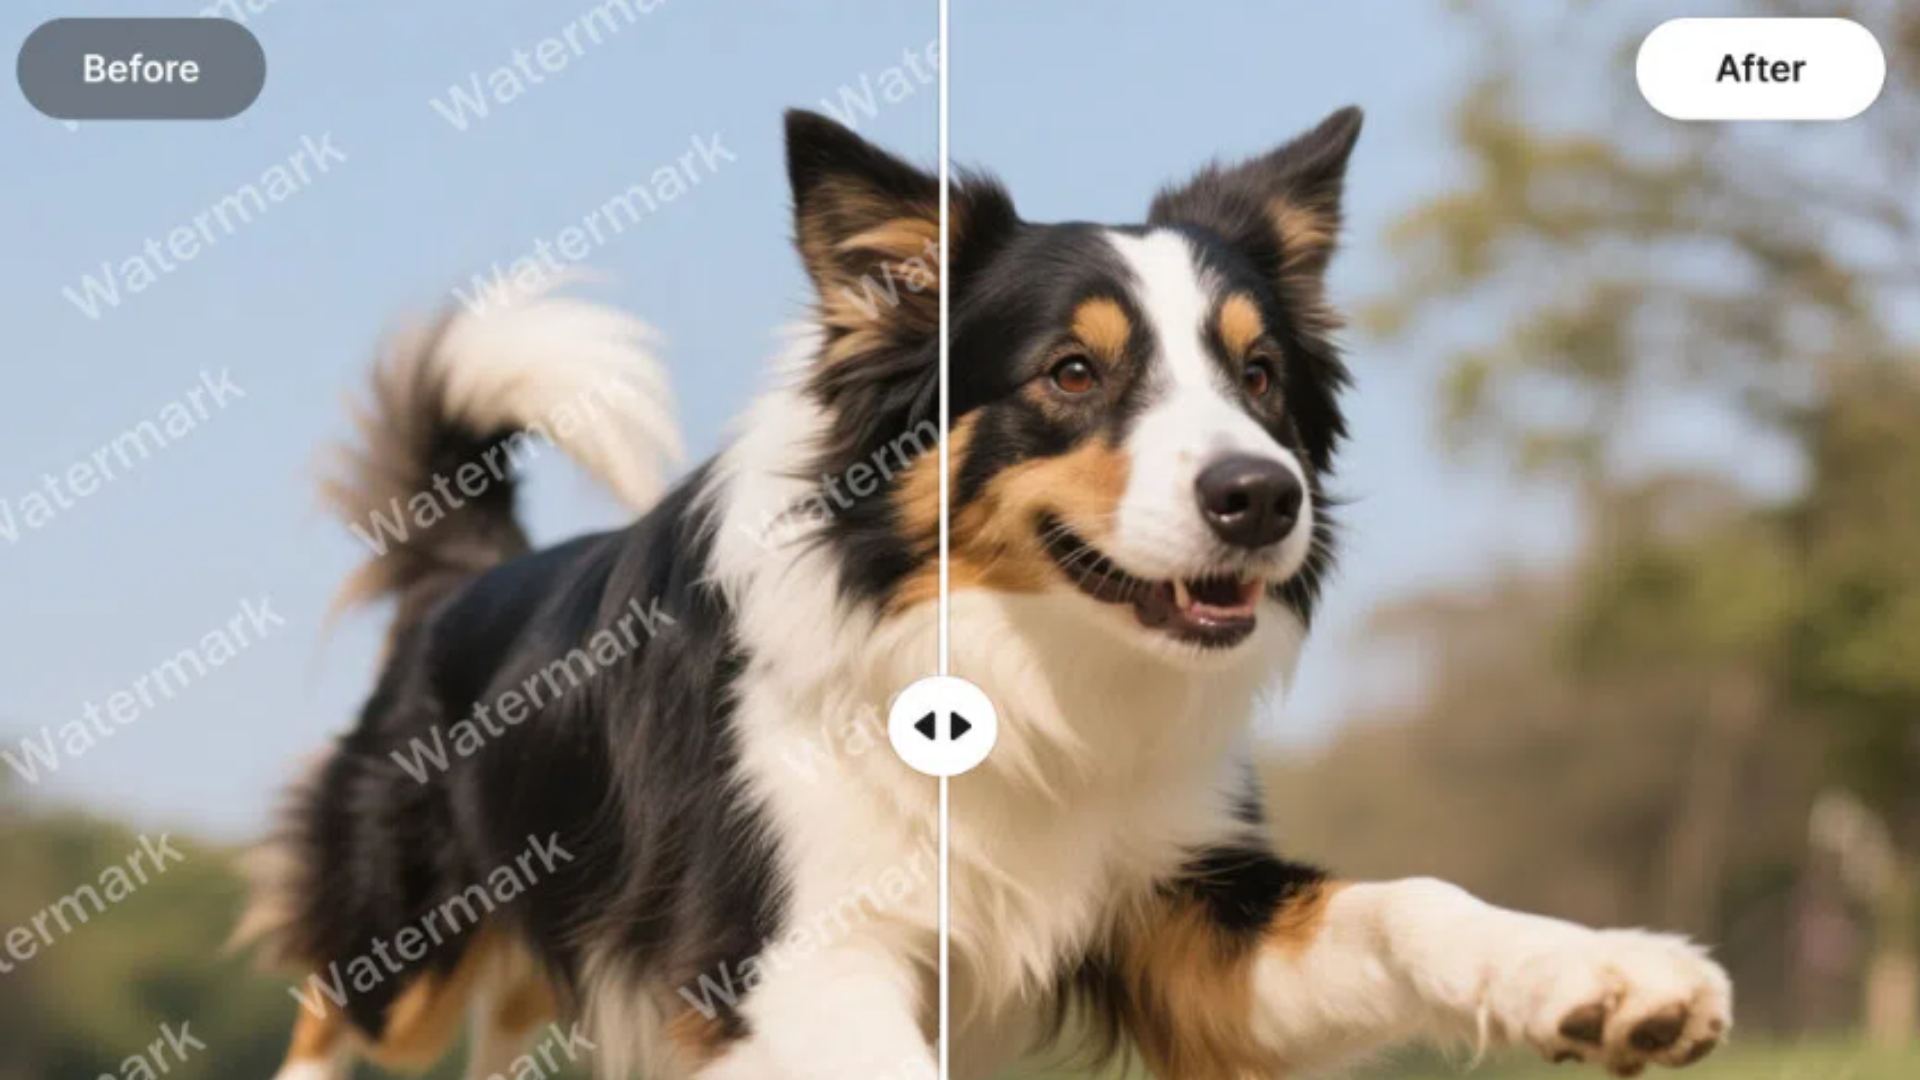
Why Video Restoration Usually Takes Longer Than It Should
Many users consider watermark removal and video enhancement to be different tasks completely…
First, they remove the watermark, export the video, re-upload the video, perform enhancements on the same video, and re-export it. A lot of work, right?
However, each video export re-encodes it. Which means over time, edges can start to look a little softer, and compression starts to creep in even though every process looks okay by itself.
This is why using two quality tools won’t necessarily deliver the best outcome.
So, yes! The workflow does count.
But there’s good news: most AI video tools now merge watermark and video editing for purposes: denoising, upscaling, and image enhancement all from the same tool.
Then we may ask: would this also matter?
Three Restoration Workflows You Can Try
Workflow 1 — Enhance First, Remove the Watermark After
Seems like the right thing to do?
Not exactly. When you improve the video first you also increase the sharpness of watermark on it.
Now it’s bigger, sharper and even more visible for a somewhat complex remove.
Not to mention – there’s an additional problem. You are now working on a larger, better quality source file without any real additional quality gain on watermarks removal.
Workflow 2 — Remove the Watermark First, Then Enhance
What if you clean up the watermark first?
It is always good practice to remove a watermark prior to video improvement with AI. Once the frame is clean, you can sharpen and improve the whole video without making the watermark stand out first.
Workflow 3 — One Unified Pass, Minimal Exports
Want to make things super easy?
Edit both images within the same tool and then export them one time. Only need one final export means less compression and loss of quality.
Less work and effort!
How We Tested This
So, what workflow does the job better?
Besides video quality, we tested how user-friendly each workflow is. We have examined watermark removal, retaining details, rendering time, export times, and editing experience. In the workflow, we used Zawa’s AI Video Watermark Remover combined with its AI Video Enhancer, processing both steps within a single environment and exporting after the outcome.
Testing the Workflow
What’s a better test than a fast-moving race car video for test?
We selected a clip of racing cars because it contains two obvious issues: it includes a watermark on the footage, and the video quality is relatively soft and compressed. After the watermark vanishes, it becomes much more difficult for the AI to restore the blurred Background, due to how fast the car is driving.

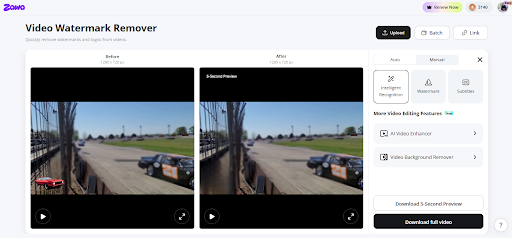
So, we started where it made the most sense—Zawa’s AI Video Watermark Remover.
Simply upload a video; the AI scans for a watermark, then it can automatically delete any logo, text, subtitles and other data within that video. No frame editing required! It will still offer up to 4K exports. Best of all: It will work in your browser, and you can even apply it to numerous clips at once.
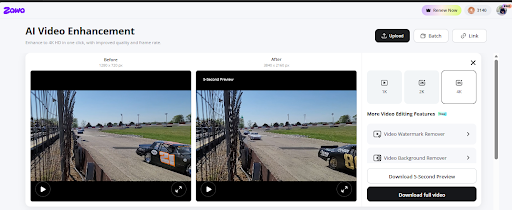
Here’s where the workflow gets even better.
Rather than export video and then jump over to another app and open AI enhancer here, you can just directly open that up from the Zawa user interface. A few clicks and you can choose from 1K, 2K, or 4K resolution.
Results: Which Video Restoration Workflow Delivered the Best Quality?
| Workflow | Editing Time | Result Quality | Risk of Extra Compression | Best Use Case |
|---|---|---|---|---|
| Enhance First | Medium | Good | Higher | Minor touch-ups |
| Remove, then enhance | Medium | Better | Lower | Most restoration work |
| One Toolkit, One Export (Zawa) | Fast | Best Overall | Lowest | Frequent editing and content creation |
With Zawa’s AI Video Watermark Remover and AI Video Enhancer in the same workspace, we only had to export the video once. That meant less quality loss, a faster workflow, and a cleaner final video.
Common Video Restoration Mistakes That Reduce Final Quality
A few small mistakes may keep you from producing the best result.
- Enhancing while the watermark is still there. While the idea sounds good, it makes the watermark more pronounced and harder to get rid of.
- Exporting the video at every step. Every time you export, the quality might slightly deteriorate. If possible, use a single editing software and make all changes there before a one-time export.
- Basing enhancement solely on sharpening. Usually, more doesn’t mean better. Extreme sharpening may cause compressed videos and blur to look fake.
- Editing others’ videos. Keep in mind, the steps are supposed to be a guide for videos you either created or have full rights to modify.FAQ: Removing Watermarks and Enhancing Video Quality
Should you remove a watermark before or after enhancing a video?
In most cases, remove the watermark first. This gives the AI a cleaner frame to work with before you improve the video’s sharpness and quality.
Does enhancing a video make an existing watermark more visible?
Yes, it can. Enhancement sharpens the whole frame, including the watermark, which may make it harder to remove cleanly afterward.
Can removing a watermark and enhancing quality be done without multiple exports?
Yes. Tools like Zawa let you remove the watermark and enhance the video in the same workspace, so you only need to export once.
Conclusion
It is actually quite an important thing to get the sequence right. If you first remove the watermark and then you do an enhancement of the video, it will, as a rule, look more pleasant than when the order is reversed.
Zawa is a tool you can try it for, one that will let you make both changes within one environment. Thus, you will not only make more time for the tasks but also reduce the number of exports and preserve the quality of the original content much better. A slight modification of the work process can have a visible impact on the video itself.
