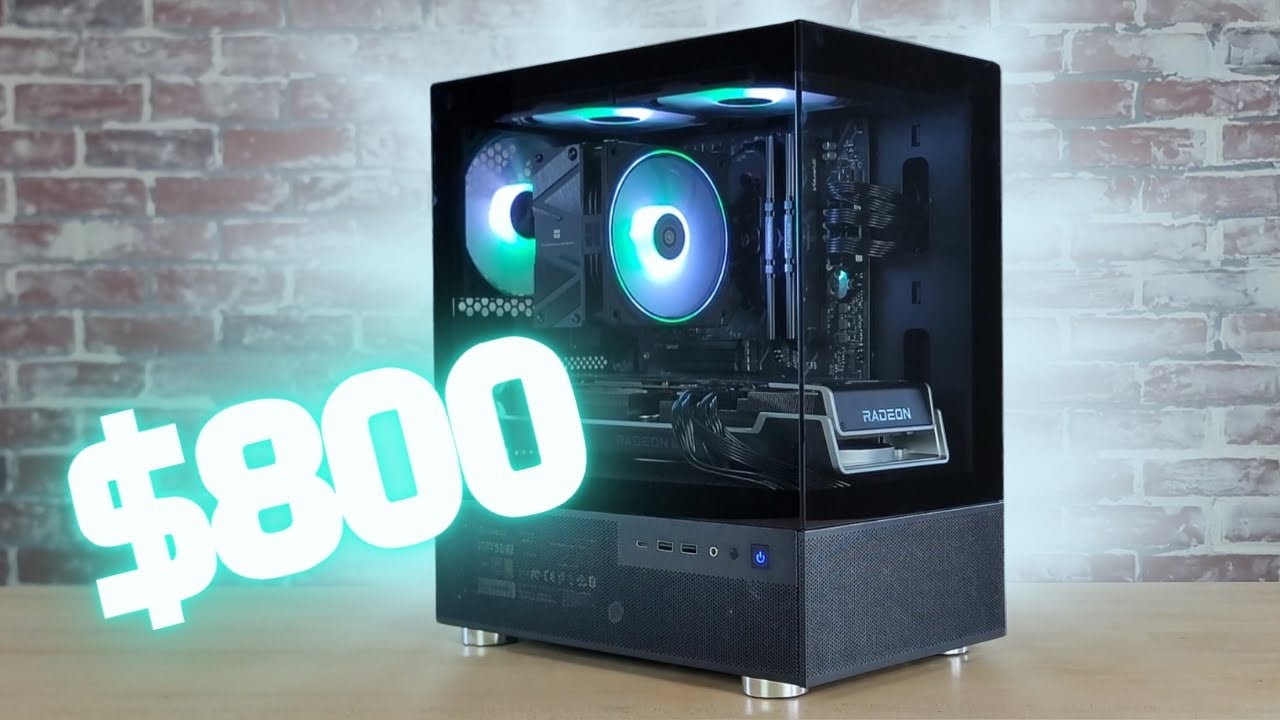
Can you build a good gaming PC for $800 in 2026?
Building a gaming PC gives you freedom — from choosing your parts to upgrading over time — but market conditions play a huge role in what any budget can realistically achieve.
An $800 budget was once enough to build a strong, well-rounded gaming system. With recent price shifts across CPUs, memory, and storage, expectations at this tier need to be adjusted.
This guide helps you understand what’s feasible today, what compromises you may face, and how to make the most informed choice before spending your money.
Let’s start with a quick market update and your best current options.
Important update on building a $800 gaming PC right now…
Current pricing and availability—especially for CPUs, RAM, and SSDs—make a $800 gaming PC build nearly impossible. See what your options are below…
Due to current PC hardware pricing and availability, I have stopped updating the part list in this guide.
Entry-level CPUs are currently hard to find in stock and RAM and SSDs have seen huge price increases over the past few months.
This has made it very difficult to put together a decent part list for a $800 build.
I recommend the following alternatives to building a $800 gaming PC right now….
Watch Us Build This PC
Or, watch it on YouTube here.
How to Choose Parts for A PC Build
We are constantly looking for the best deals on PC components to provide you with part lists that will offer optimal performance for your budget. You can watch us build PCs on our YouTube channel and we’ve also put together a Beginner’s Guide to Choosing Components that will help you pick the right parts for your build.
Important: For help choosing parts or for any questions you might have, check the FAQ section below, or ask a question in the comment section.
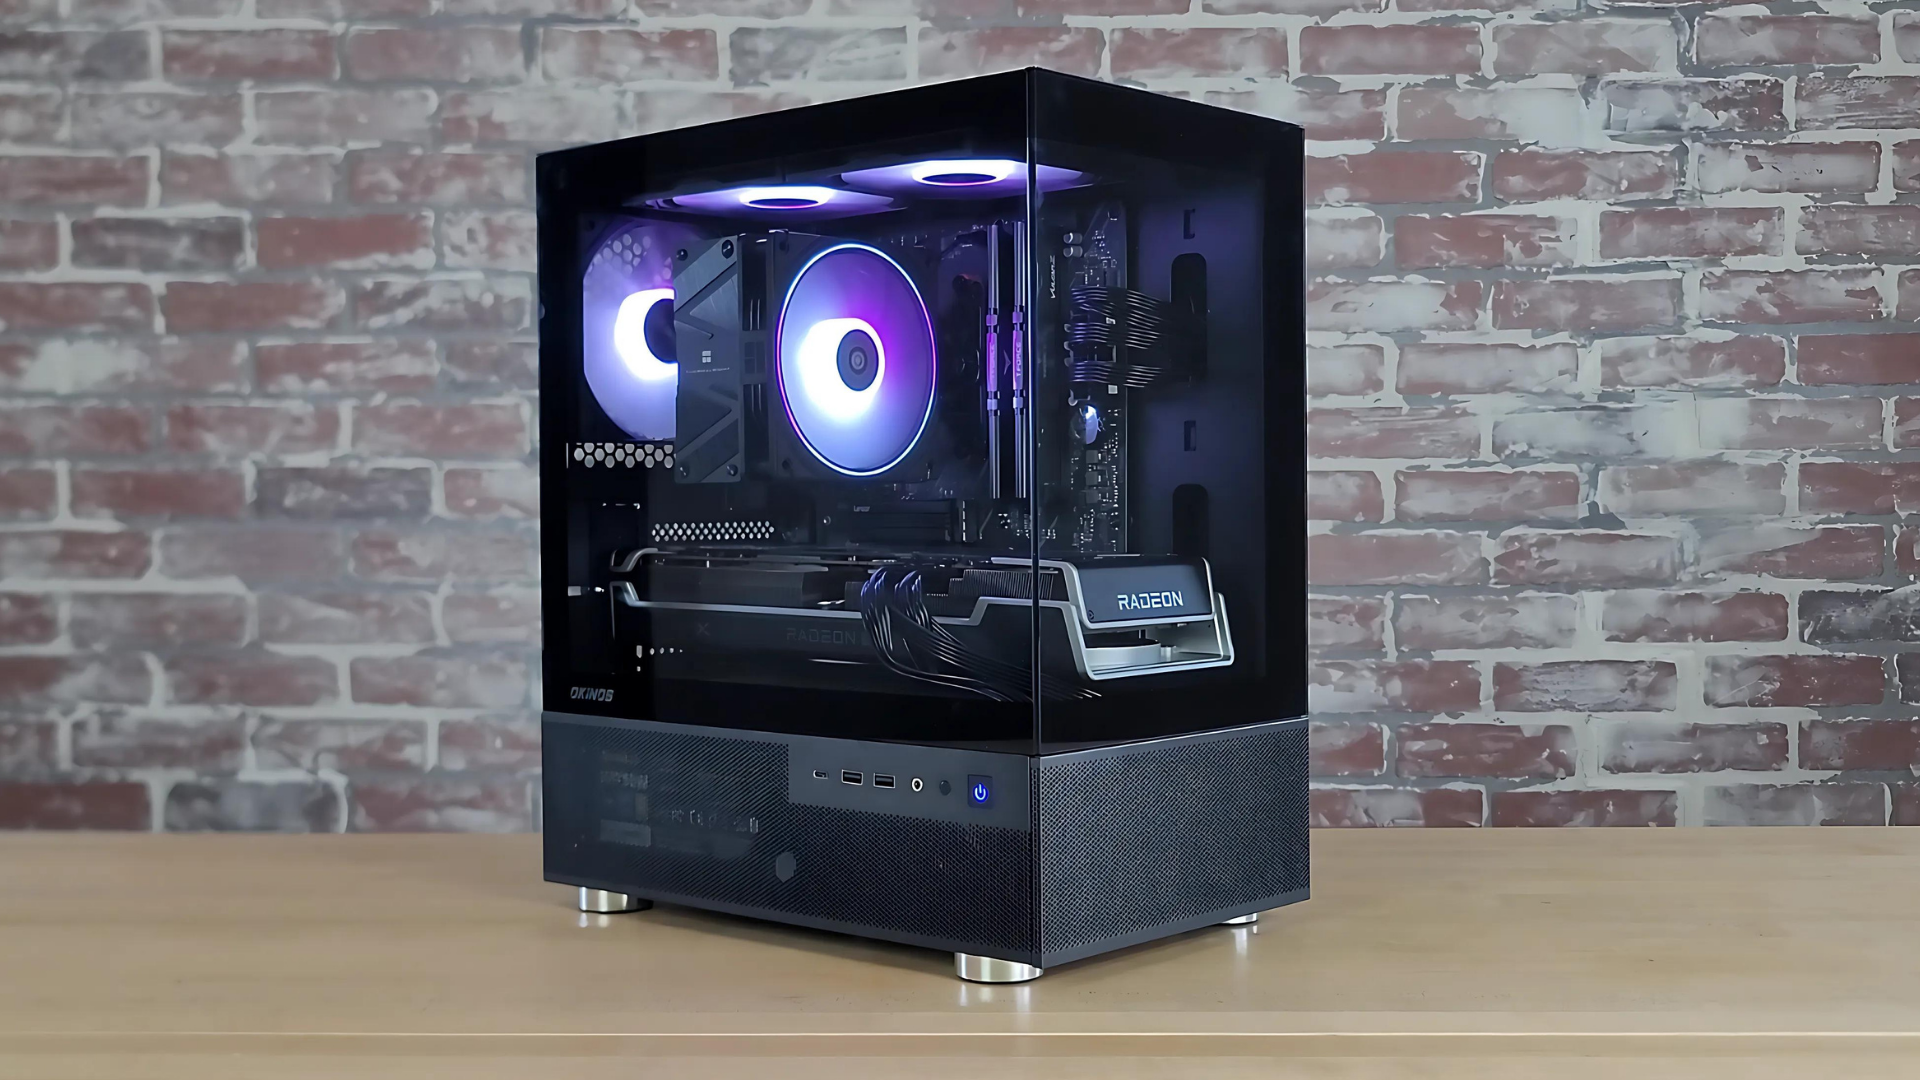
$800 Gaming PC Build
An excellent build for 1080P or light 1440P gaming


Part List
- CPU: AMD Ryzen 5 5600
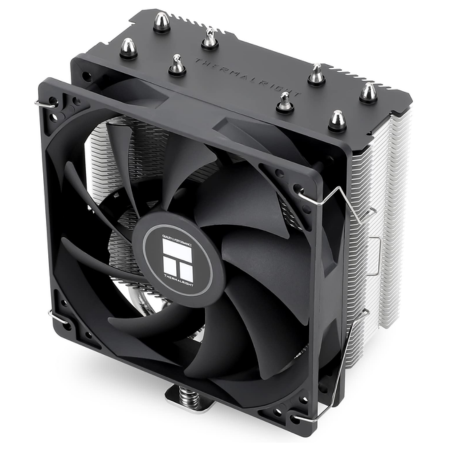
- COOL: Thermalright Assassin
- MOBO: ASRock B550
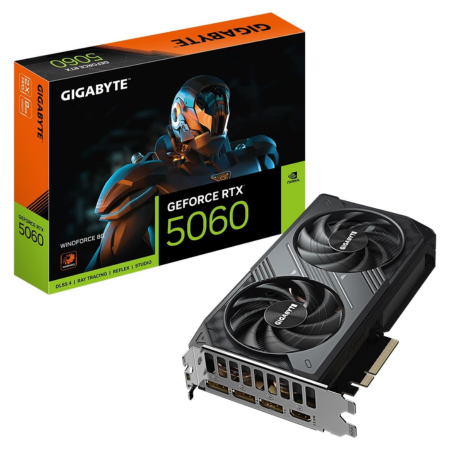
- GPU: ZOTAC RTX 5060
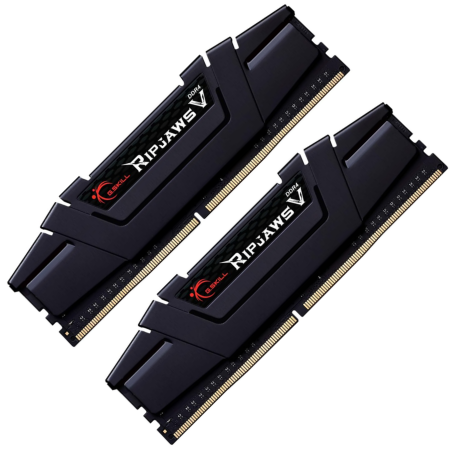
- RAM: 16GB G.Skill 3600MHz
- SSD: 1TB KLEVV CRAS
- CASE: Okinos Cypress 5
- PSU: Thermaltake 750W
Pros & Cons
- Excellent performance at 1080P
- Good airflow for the price
- Good upscaling performance w/NVIDIA GPU
- Locked into an older CPU socket
- 8GB VRAM GPU isn’t ideal
Or, build a custom PC with Xidax »
$800 PC Build Overview
If you’ve read our guide on building a $700 gaming computer, then it might surprise you that this $800 gaming PC build isn’t that much different. For our $800 build, we’ve upgraded to an RTX 5060 graphics card, though, and that will give you a solid jump in GPU performance.
For the full hardware configuration of this build, it comes with an AMD Ryzen 5 5600 processor, Gigabytes RTX 5060 8GB graphics card, 16GB of G.SKILL’s Ripjaws V 3600MHz memory, a 1TB NVME SSD from KLEVV, Okinos’ Cypress 5 ATX case, and Thermaltake’s 750-watt power supply.
This $800 system will give you ideal performance on a 1080P monitor and you can even use this system as a decent 1440P gaming computer as it will be able to handle most games on at least medium settings on a 1440P monitor—if not higher.
And, it does meet the requirements for both the Valve Index, the Meta Quest 3S, and HTC Vive Pro 2. So, if you want to give tethered VR-gaming a go, this system will allow you to do so.
And, for the power supply, we chose Thermaltake’s Toughpower GF1 750-watt unit. It’s an 80PLUS Gold-rated PSU that comes with full modularity. This power supply will be more than powerful enough to run this system and being fully modular, it will make the assembly process and cable management during the build a lot easier.
Not to mention, its 750-watt capacity is big enough to easily acccommodate an ugprade to an even higher-end GPU in the future.
Ultimately, for just under $800, this gaming PC is going to be an excellent option for people who don’t have thousands of dollars to spend, but who want to do some serious gaming—whether that’s competitive gaming at 1080P on a higher refresh rate monitor, or achieving better visuals on a 1440P display.
🚀 Go Up Another Level: $1,000 Gaming PC Build » 🚀
Benchmarks
Assassin’s Creed Valhalla


Cyberpunk 2077


Baldur’s Gate 3


Palworld


Fortnite


Starfield


Why Build A PC?

Build FAQ
While we try to put the best list of parts together as possible, the reality is that prices are always changing and different people having different needs. There are always other alternatives and different components you can go with.
So, in the section below we’ll highlight some of those different options you have, as well as go over some potential upgrades you might want to make down the road. We’ll also cover what kind of gaming performance you can expect out of this system at various resolutions and across different levels of games.
FAQ
1. How Do I Build This PC?
You will need to assemble all of the individual components you have purchased into a working PC. Fortunately, this process is not difficult! And, it’s a lot of fun. If you’ve never built a PC before, use our Step-by-Step PC building guide to walk you through the process.
How to Build A Gaming PC: Step-by-Step
2. What Performance Can I Get Out of this Build?
This $800 build comes with an RTX 5060 graphics card, an AMD Ryzen 5 5600 processor, and 16GB of memory, all of which will help it run any game on a 1080P monitor on max settings with no problems. In terms of the types of games you can play at different resolutions, the following will give you a good idea of what you can expect out of this system:
- Non-demanding games like Minecraft, Roblox, Rocket League, Apex Legends, and League of Legends, should run at ~200+ FPS on max settings on a 1080P monitor
- Demanding games like Black Myth Wukong, Starfield, Call of Duty, Assassin’s Creed, etc. should run at ~60+ FPS on ultra settings on a 1080P monitor
- Non-demanding games (see above for examples) should run at ~100+ FPS on higher settings on a 1440P monitor
- Demanding games (see above for examples) should run at ~60FPS on medium-to-higher settings on a 1440P monitor
- This system also meets the requirements for running both the HTC Vive and Valve Index–so it is a VR-ready gaming PC
*Note: Using DLSS will provide even more performance.
These are rough estimates and will vary from game-to-game and scenario-to-scenario.
3. Why the RTX 5060 over the Arc B580 or RX 9060 XT?
If you’re looking to build a gaming PC for $800, right now a ~$300 graphics card seems to fit best in that budget. Assuming you’re only looking for new graphics card options (and not shopping the used market), your best options in that price range are an NVIDIA RTX 5060, an Intel Arc B580, or an AMD RX 9060 XT (8GB).
All three of these GPUs have their pros and cons.
The Arc B580 offers more VRAM (12GB) than the other two options and, therefore, may be a bit more future-proofed.
The 9060 XT (8GB) is typically a bit cheaper than the other two options and has a slight edge in raw performance.
And, the RTX 5060 offers superior upscaling performance than both choices, which will help it reach more comfortable framerates in super demanding titles—especially at 1080P resolution.
So, since this build is mainly targeting 1080P gamers, we opted for the RTX 5060, as we think the upscaling performance would be worth it. However, there are definitely use-cases (especially game-specific use-cases) where it will make sense to choose another one of these GPUs over the RTX 5060. So, while we’ve opted for the 5060 in this build right now, feel free to swap it out for the GPU of your choice.
4. What About an Operating System? Don’t I Have to Pay for That?
We leave the price of Windows 11 out of our builds because there are different ways to get an operating system for less than the $100 that Windows 11 costs. Not all of these methods are ideal, but we figured we’d let you decide which operating system and/or method for getting a copy of Windows is the best option for you. Here are three alternatives to paying ~$100 for a copy of Windows 11:
First, you could install a free Linux-based operating system. This is probably the worst option as you won’t be able to play certain games that aren’t compatible with Linux, but you will save $100.
Second, you could buy a Windows 11 key from a third party marketplace for ~$30. I’ve had good success purchasing Windows keys from Kinguin.net and G2A.com in the past, but there is definitely some risk involved in purchasing a Windows license from a third party source, as it is not technically a method of purchasing Windows that is approved by Microsoft.
Finally, you could just install Windows 11 for free and not activate it with a license key. In my opinion, this is probably the best route to go if you’re working with a tight budget. The ~$125 that Windows 11 costs could be the difference between running your games at max settings and running them at medium-or-lower settings.
Essentially, though, Microsoft allows anyone to install Windows onto their computer without forcing them to activate it. And, for the most part, you can still use Windows normally even when it’s not activated. The only thing you will lose out on is some customization options like setting a custom background for your desktop and you also won’t be able to access Microsoft for support (although this isn’t that big of a deal—I’ve used Windows-based systems for nearly 20 years and I’ve never once called Microsoft to ask them for help with Windows).
But, I think in order to save ~$125, that is not a bad trade-off cost. And, at the very least, you could run the non-activated version of Windows for the time being until you can afford to purchase an activation key for it.
5. Upgrade Paths for This System
The reality is that, if you’re just looking for a computer that can easily max games out on a 1080P monitor, or even play games on a 144Hz monitor or a 1440P monitor, then this system will hold up just fine without needing to be upgraded. However, there are always upgrades that can be made. The first upgrades we would make would be to…
- Upgrade the processor
- Upgrade the graphics card
- Upgrade the storage
The first upgrade we’d make to this build would be to upgrade the AMD Ryzen 5 5600 to a Ryzen 7 5700X3D or Ryzen 7 5800X3D. This won’t make an enormous difference in terms of your average framerate in GPU-heavy titles, but it will give you a significant boost to your framerate if you’re playing CPU-intensive games. As an example, most online competitive titles (Fortnite, Marvel Rivals, COD, etc.) benefit from having a better CPU, and are games where the 5700X3D will offer a lot more performance than the 5600.

And, while the RTX 5060 graphics card should be perfectly fine for 1080P gaming (and for playing non-demanding titles at 1440P resolution), if you want to jump up to serious 1440P or 4K gaming, you’re going to need to upgrade your graphics card to a more extreme option.
One of the new RTX 5000-series GPUs or AMD’s RX 9070 XT or 9070 would be good targets.
It should be noted that, for the higher-end RTX 5000-series GPUs (the 5090 and 5080) would require a PSU upgrade as well.
This build comes with a 1TB NVME SSD and, while that is a decent amount of storage capacity to start out with, it can run out quickly if you have a lot of games/files. So, if you want to beef of your storage capacity you can add an additional SSD.
Also Read: The Best SSDs for Gaming Right Now
Ultimately, though, this build is really solid as is and, if you’re just gaming on a 1080P monitor, it shouldn’t require an upgrade for a long time.
Conclusion: For Just $800, You Get A Well-Rounded PC Build
In my opinion, if you’re looking for a solid all-around gaming computer that can handle anything on a 1080P monitor, run tethered virtual reality headsets, and serve as a nice entry-level 1440P system, this $800 build is an option worth considering. It should hold up just fine for 1080P gaming for at least the next 4-5 years (and probably well beyond that). And, the included SSD and extra RAM will help this system work pretty well for content creation, too.
Get Help With Your Build: If you need help putting together a part list for your build, post your questions in the comment section!