 Unsure whether you actually need to update your BIOS/UEFI—or worried you’ll brick your motherboard if you do? In this updated guide, I’ll cover when you should update your BIOS, the safest way to do it for different scenarios (USB flash method, BIOS Flashback, OEM laptops, etc.), and what to do if something goes sideways.
Updating your BIOS (technically UEFI on modern boards) is one of those PC tasks that gets overhyped in some circles and feared in others.
Here’s the truth: most people do NOT need to update their BIOS just because a newer version exists. But there are a few situations where updating is absolutely worth it—and in those cases, doing it the right way is usually pretty straightforward.
Modern motherboards have gotten much better at BIOS updates, too. Many boards now support “EZ Flash/Q-Flash/M-Flash”-style tools built directly into the BIOS, and some even support BIOS Flashback (updating the BIOS with just power + a USB drive, no CPU/RAM required). That said, you still need to be careful, because flashing the wrong file or losing power mid-update can cause serious problems.
Table of Contents
1. Do You Actually Need to Update Your BIOS?
2. Before You Update: The Safety Checklist
3. How to Check Your Current BIOS Version (and Motherboard Model)
4. The Best Method: Update from Inside BIOS/UEFI (USB Flash)
5. Special Scenarios: BIOS Flashback, OEM PCs/Laptops, and Windows Tools
6. After the Update: What to Check (and What to Fix if Something Breaks)
1. Do You Actually Need to Update Your BIOS?
A BIOS update can add CPU support, improve memory compatibility, patch security issues, and fix weird stability problems. But it can also reset settings and (in rare cases) go wrong.
Update your BIOS if:
- You’re installing a newer CPU and your current BIOS doesn’t support it (very common when upgrading CPUs on the same socket/platform).
- You’re dealing with stability issues (random crashes, cold-boot problems, memory instability) and you’ve already ruled out drivers, temps, RAM issues, and Windows problems.
- You need better memory compatibility (EXPO/XMP instability, failure to train memory, constant reboots on boot).
- The manufacturer notes a fix you specifically need in the BIOS changelog (security fix, USB issue, PCIe bug, etc.).
You probably do NOT need to update your BIOS if:
- Your system is stable and you aren’t changing hardware.
- You’re only updating “because there’s a newer version.”
2. Before You Update: The Safety Checklist
Do these quick prep steps first. This is the difference between a smooth update and a stressful one.
- Confirm your exact motherboard model (and revision, if applicable). Don’t guess. Many boards have near-identical names.
- Download the BIOS from the motherboard manufacturer’s support page. Avoid sketchy mirrors and random forums for the BIOS file itself.
- Read the BIOS notes/changelog. Look for anything like “must update to version X before Y” or “do not flash from within Windows.”
- Use a reliable power situation. If you have a UPS, great. If not, don’t flash during storms, brownouts, or when your house wiring is acting up.
- Write down key BIOS settings you care about. BIOS updates often reset settings to default. Common ones:
- XMP/EXPO (your RAM speed profile)
- Fan curves
- Boot order (which drive boots first)
- Secure Boot / TPM settings (Windows 11 requirements)
- Virtualization (SVM/VT-x) if you use VMs
- If you use BitLocker: make sure you can access your recovery key (Microsoft account, your IT admin, or wherever you stored it). If you’re comfortable, you can also temporarily suspend BitLocker before updating.
- Use a small, simple USB drive for the update. A basic 8–32GB flash drive formatted as FAT32 is ideal.
3. How to Check Your Current BIOS Version (and Motherboard Model)
Option A: Windows System Information (Fastest)
- Press Windows key and type System Information (or type msinfo32) and hit Enter.
- Look for BIOS Version/Date.
- Also note BaseBoard Manufacturer and BaseBoard Product (this helps confirm your exact motherboard model).
Option B: In BIOS/UEFI (Most Accurate)
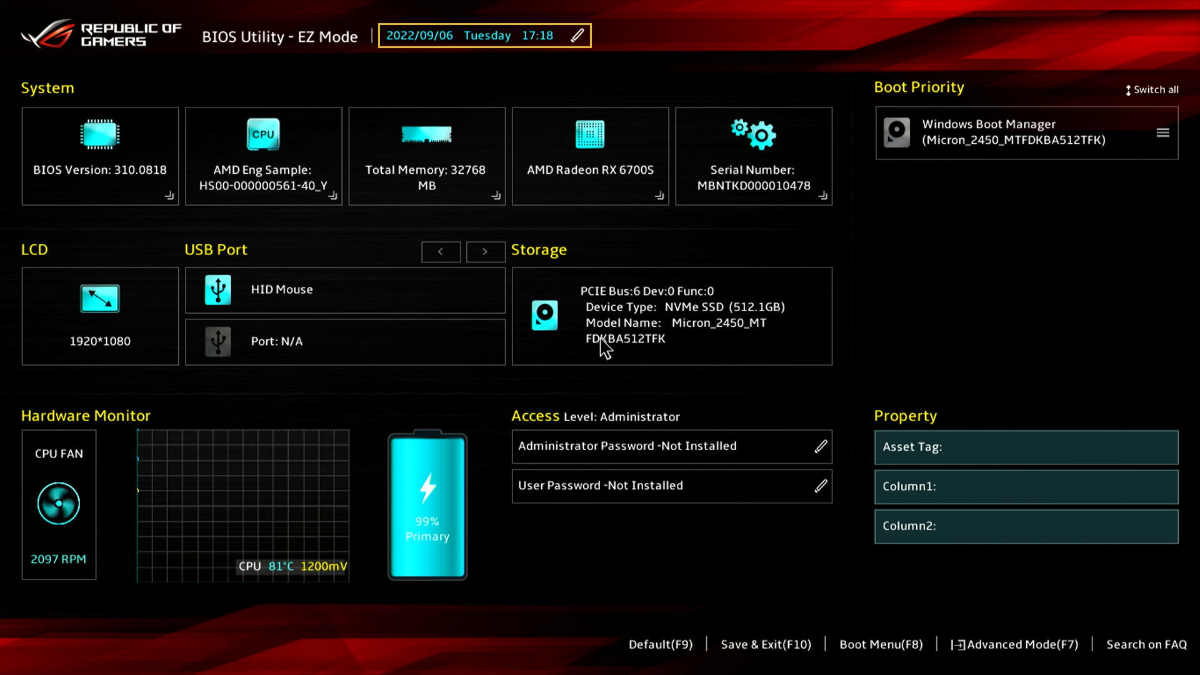
Restart your PC and enter BIOS/UEFI (usually DEL or F2 during boot). Your BIOS version is typically shown on the main screen.
4. The Best Method: Update from Inside BIOS/UEFI (USB Flash)
For most DIY desktops, the safest and most common modern method is:
download BIOS → put it on a FAT32 USB drive → use the motherboard’s built-in flash tool.
Most brands have a built-in updater:
- ASUS: EZ Flash
- Gigabyte: Q-Flash
- MSI: M-Flash
- ASRock: Instant Flash
Step-by-step (works for most modern boards)
- Download the correct BIOS file from your motherboard’s support page.
- Extract the file if it’s in a .zip folder. You usually want the BIOS file itself (often .CAP, .BIN, .ROM, etc.).
- Format your USB drive to FAT32 (right-click the drive in Windows → Format → FAT32). Then copy the BIOS file to the root of the USB drive (not inside a bunch of folders).
- Reboot into BIOS/UEFI.
- Launch the BIOS update utility (EZ Flash/Q-Flash/M-Flash/Instant Flash). It’s usually under “Tools” or “Advanced.”
- Select the BIOS file on your USB drive and confirm the update.
- Do NOT touch anything during the flash. Don’t restart. Don’t power off. Don’t panic if the system reboots multiple times.
- When it finishes, let it reboot normally. The first boot after a BIOS update can take longer than usual.
5. Special Scenarios: BIOS Flashback, OEM PCs/Laptops, and Windows Tools
A) BIOS Flashback (Best for “PC won’t boot” or new CPU support)
Some motherboards include a dedicated feature that lets you update the BIOS with:
- power connected to the motherboard (PSU on)
- a USB drive with the BIOS file
- pressing a Flashback button
This is incredibly useful if:
- You installed a new CPU and the board won’t POST because the BIOS is too old.
- Your system is unstable and you want the safest “lowest dependency” update method.
- You don’t have a supported CPU available to boot the system normally.
General Flashback steps (varies by brand):
- Download the correct BIOS and follow the manufacturer’s Flashback instructions exactly.
- Format USB to FAT32 and put the BIOS file on it.
- Rename the BIOS file if required. Many Flashback systems require a specific filename (your board’s manual/support page will specify this).
- Plug USB into the designated Flashback USB port (often labeled).
- With PSU on (and sometimes with CPU/RAM removed depending on the board), press and hold the Flashback button until the LED starts blinking.
- Wait until the blinking stops (can take several minutes). Then power on normally.
B) OEM Desktops and Laptops (Dell/HP/Lenovo/etc.)
If you have a prebuilt desktop or laptop from a major OEM, don’t use a motherboard vendor BIOS file (ASUS/MSI/Gigabyte). You typically need the BIOS update from the OEM’s support page for your exact model.
OEM updates are often:
- delivered via a Windows updater tool, or
- delivered through the OEM’s update app, or
- installed from the BIOS itself using their built-in updater
The main rule is: use the OEM’s support page for your exact model/service tag.
C) Updating BIOS from Windows (Sometimes fine, but not my first choice)
Some motherboard vendors offer Windows BIOS flash utilities. They can work, but they add extra variables (drivers, Windows stability, background processes).
If you have the choice, I still prefer the BIOS/UEFI USB method.
If a Windows-based update is your only option (or your OEM uses it), then:
- Close everything before running it
- Don’t do it while overclocked/unstable
- Don’t interrupt it
- Don’t run it during a Windows update/driver install session
6. After the Update: What to Check (and What to Fix if Something Breaks)
First boot checklist
After a BIOS update, it’s normal for the system to take longer on first boot, reboot once or twice, or retrain memory.
Once you’re back in Windows, do this:
- Confirm the BIOS version updated (msinfo32 → BIOS Version/Date).
- Re-enable XMP/EXPO if your RAM is running at default speeds.
- Check boot order if your system boots to the wrong drive.
- Verify temps/fans (fan curves often reset).
- Verify Windows 11 security features (TPM/Secure Boot) if you rely on them.
If the PC won’t boot after updating
Don’t immediately assume the motherboard is dead. Try these in order:
- Wait a few minutes. Memory training can take longer than you expect, especially after BIOS changes.
- Power cycle completely. Shut down, flip PSU switch off, hold power button for 10 seconds, then try again.
- Clear CMOS. Use the Clear CMOS button (if you have one) or the jumper method. This resets BIOS settings to defaults.
- Boot with minimal hardware. One RAM stick, no extra drives, remove add-in cards (if possible).
- If your board supports BIOS Flashback, use it. This can recover from a bad flash on many boards.
If Windows asks for BitLocker recovery
This is common if the BIOS update changed security state or TPM behavior. Use your BitLocker recovery key to unlock, then you’re typically fine.
